What if your users could add your products to their cart & complete the purchase right on WhatsApp?
You can now sell your products right on WhatsApp by creating WhatsApp Catalogue via Messegy.
In this tutorial, we'll guide you on how to create WhatsApp Catalogue in a few simple steps via Messegy.

Pre-requisites to create WhatsApp Catalogue via Cart+ in Messegy
To create WhatsApp Catalogue in Messegy, you first need to create a Catalogue in your Facebook Business Account.
Check out how to create Catalogue in your Facebook Business Account
Created your Catalogue on Facebook Business Manager account?
Great! Now, let's activate this catalogue on WhatsApp via Cart+ feature in Messegy.
How to create WhatsApp Catalog via Cart+ ?
Show step by step how to get started
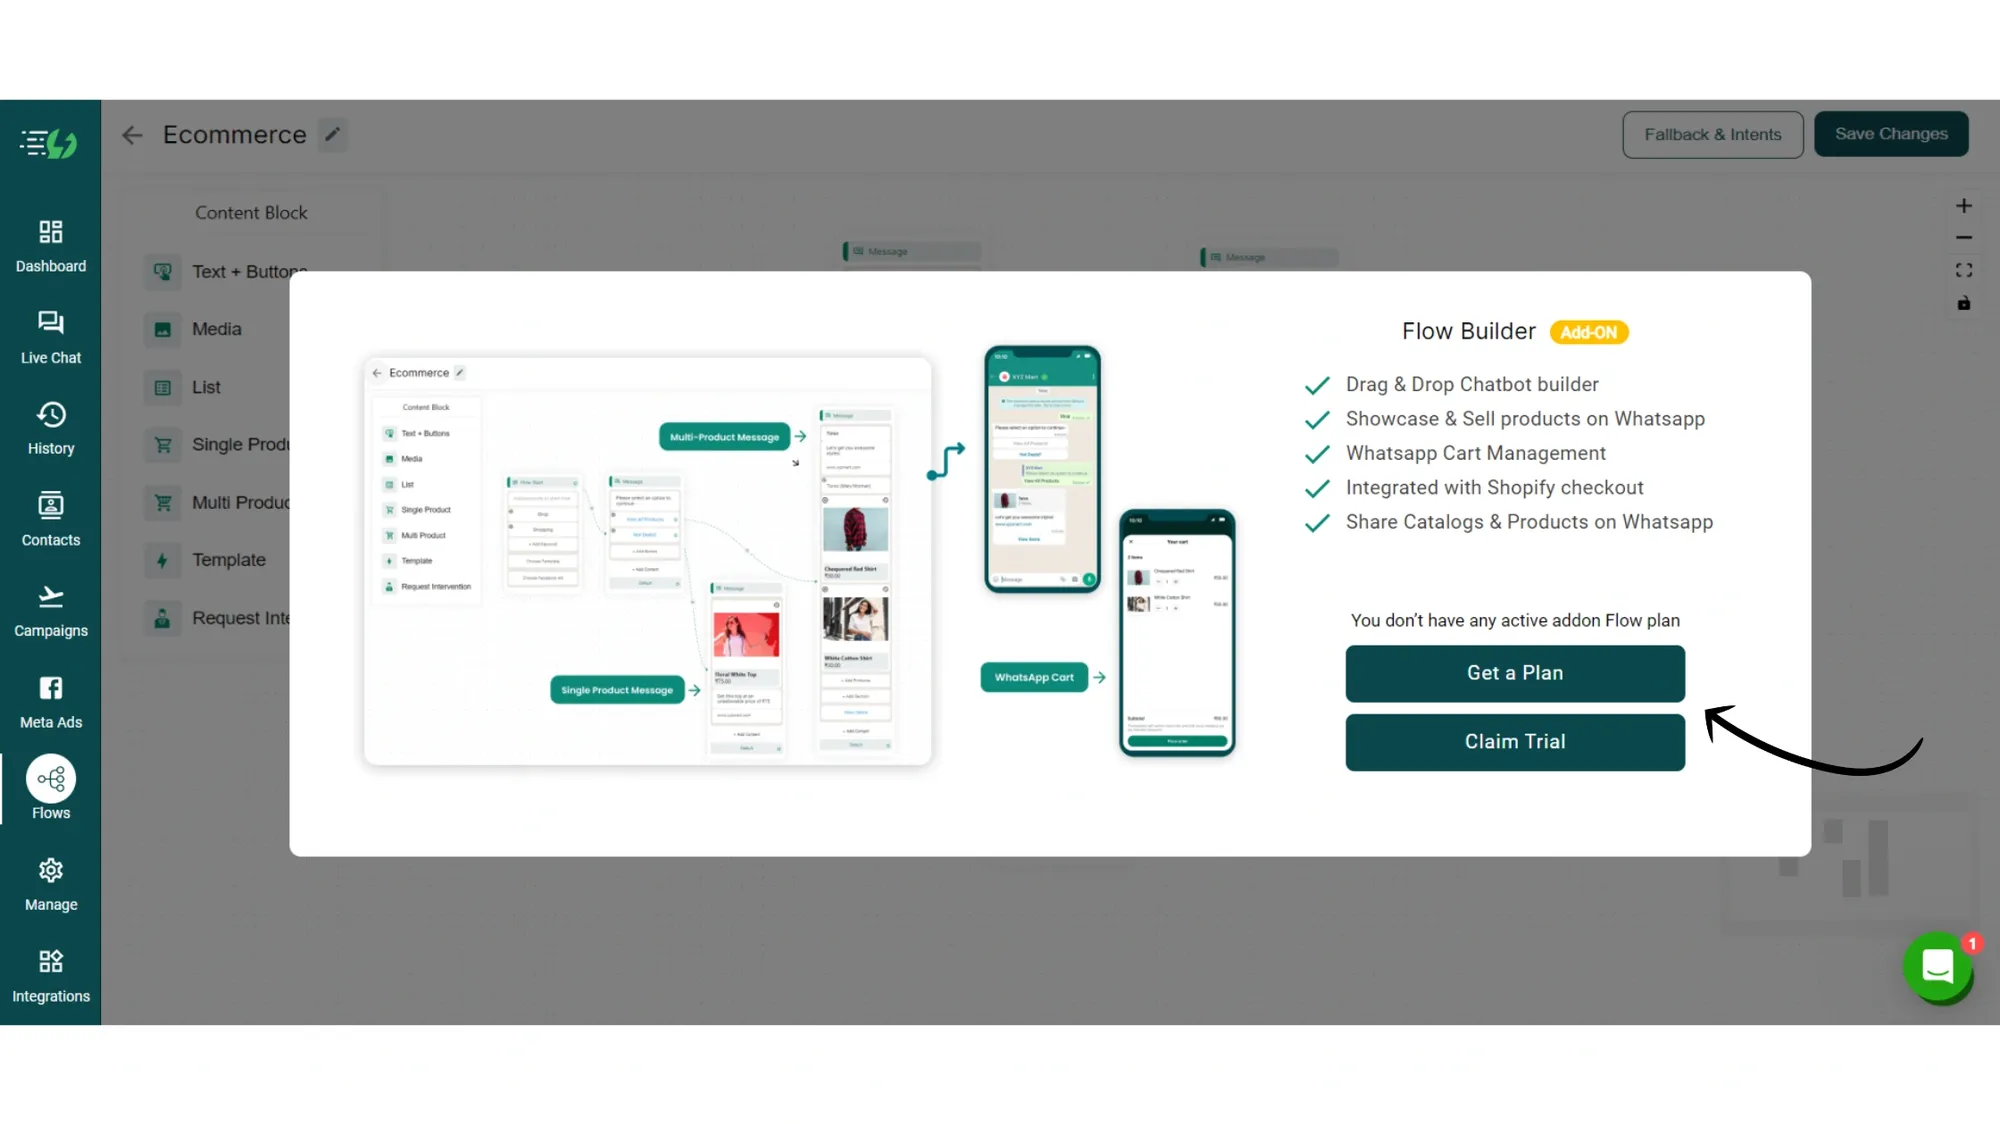
1. Unlock Flow Builder
The very first step you need to do is Unlock the Flow Builder. Flow Builder is an Add-on feature that you need to purchase to unlock or claim your 14-day free trial (for existing as well as new users).
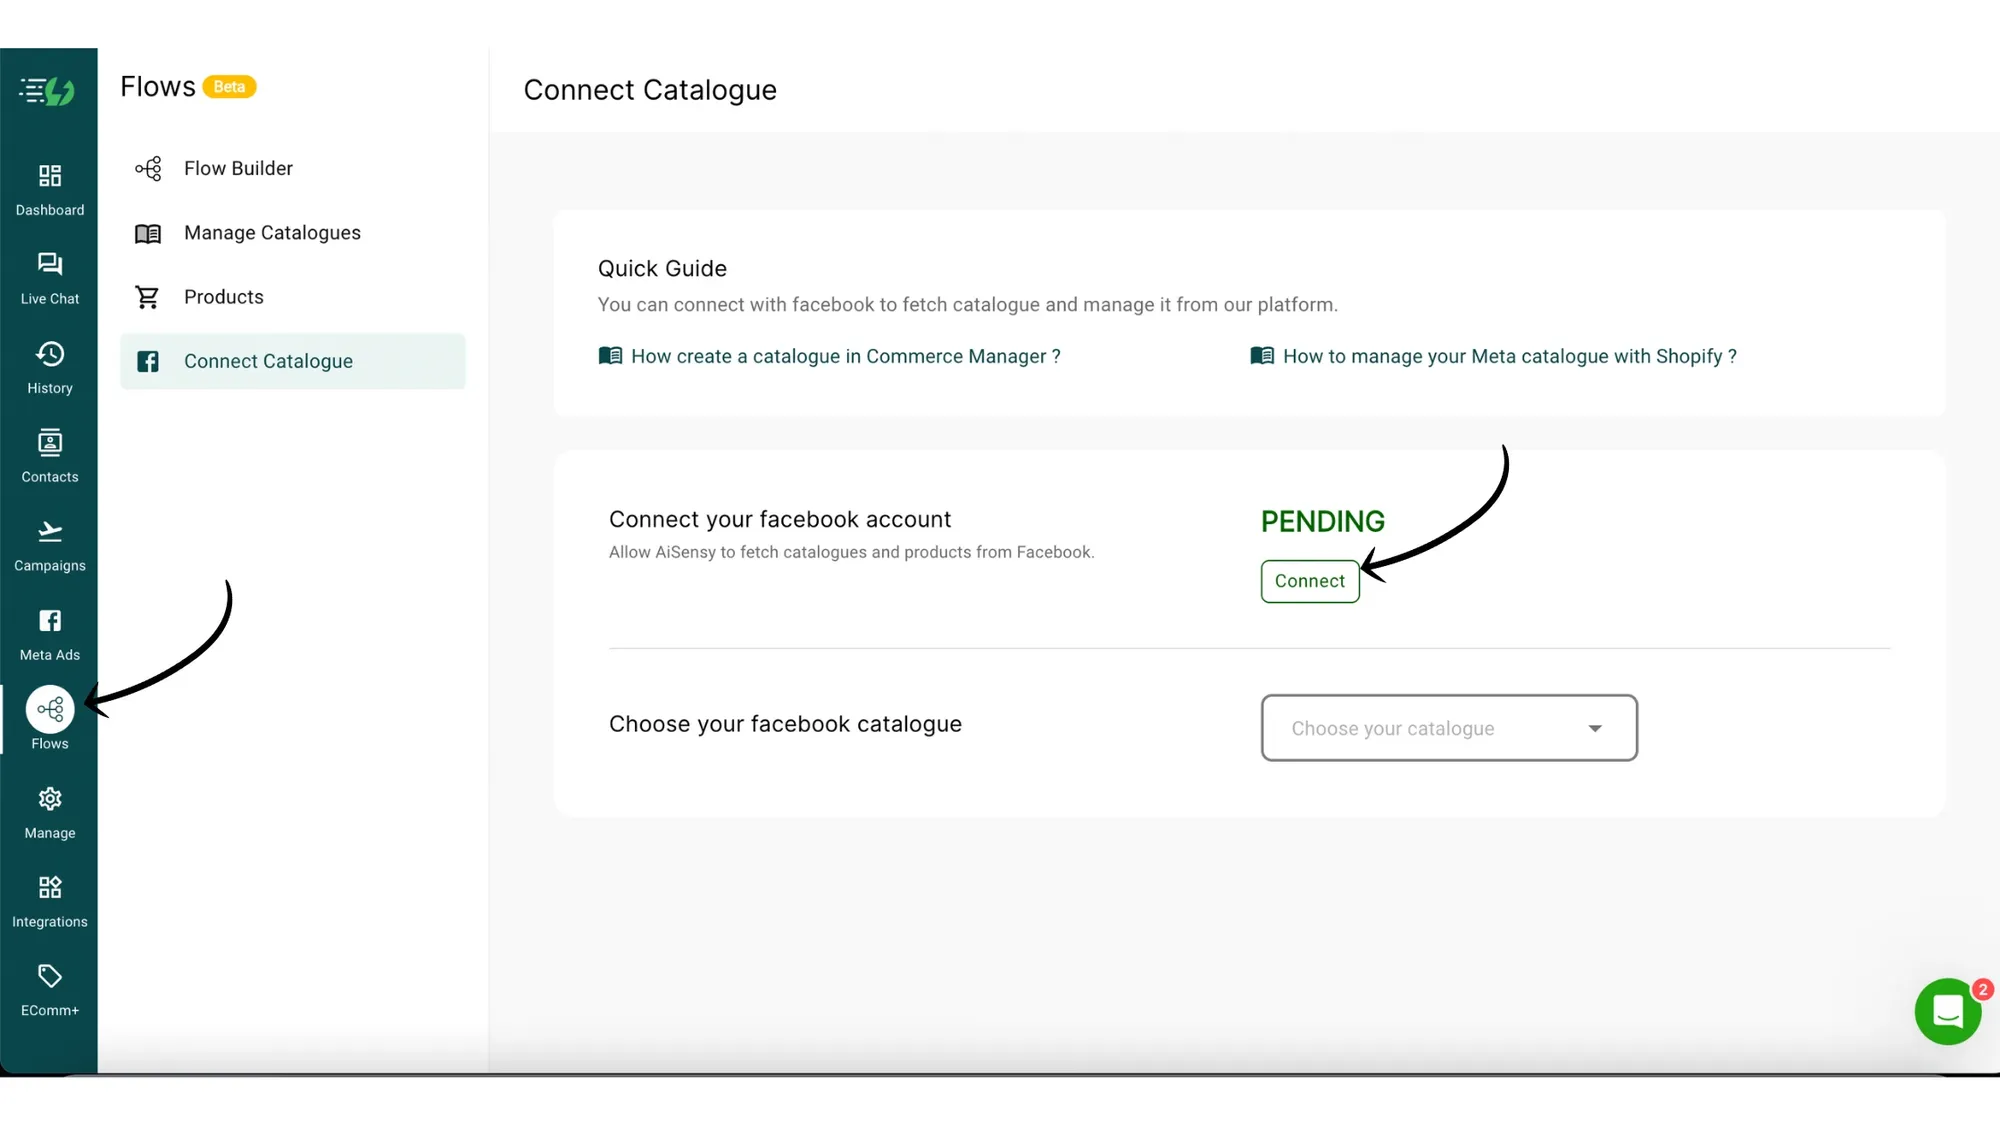
2. Go to Flows & connect your Facebook Business Account
First, go to Flows section in Messegy App & connect your Facebook account.
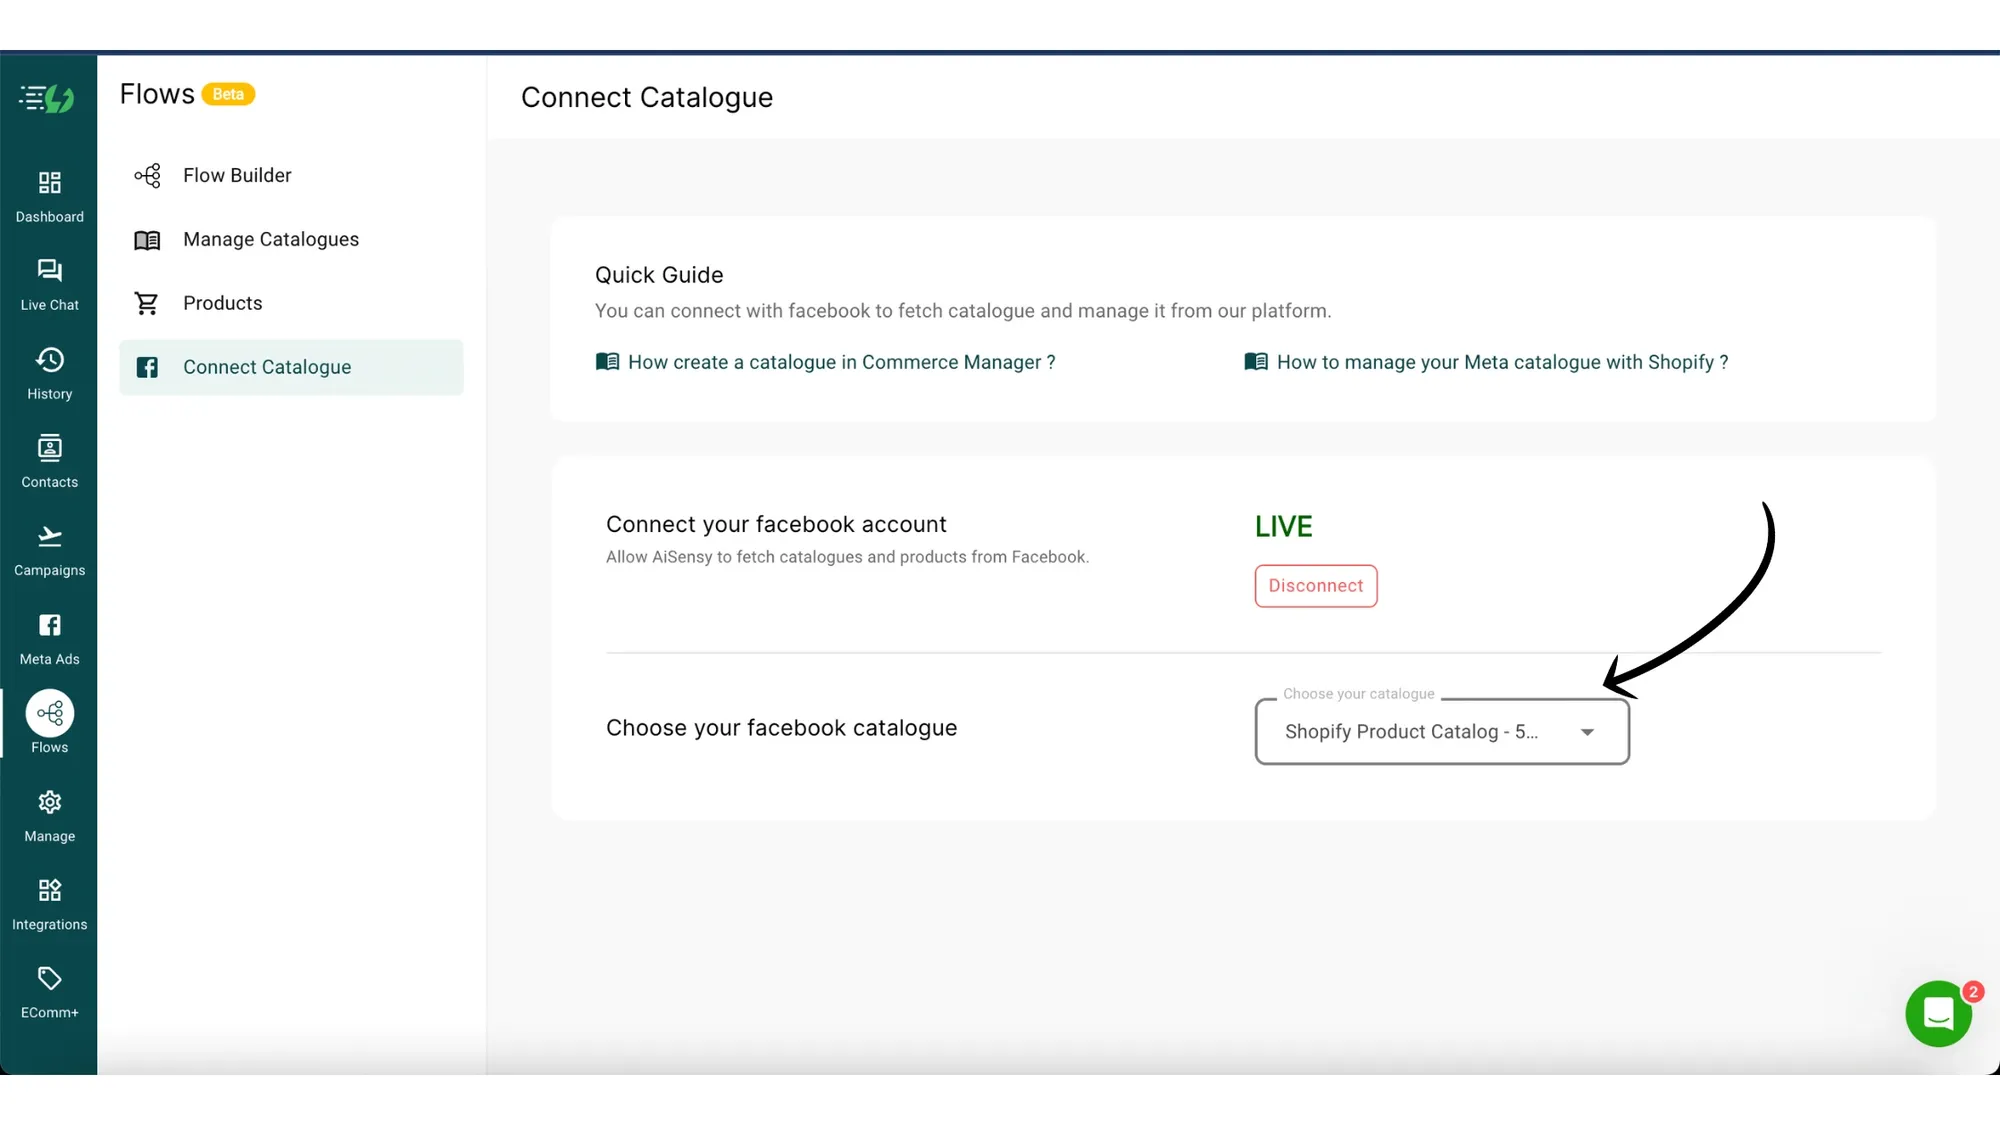
3. Connect Catalogue created via Facebook
Next, connect the Catalogue you've created in your Facebook Business Manager account with Messegy.
To know more about How to create a catalogue in Facebook click here.
Note: Only select the catalogue you wish to run on WhatsApp.
4. Go to Catalogue & connect the Catalogue you wish to run on WhatsApp
Now, go to the Manage Catalogue section in Flows and connect the same Facebook catalogue you chose in the previous step.
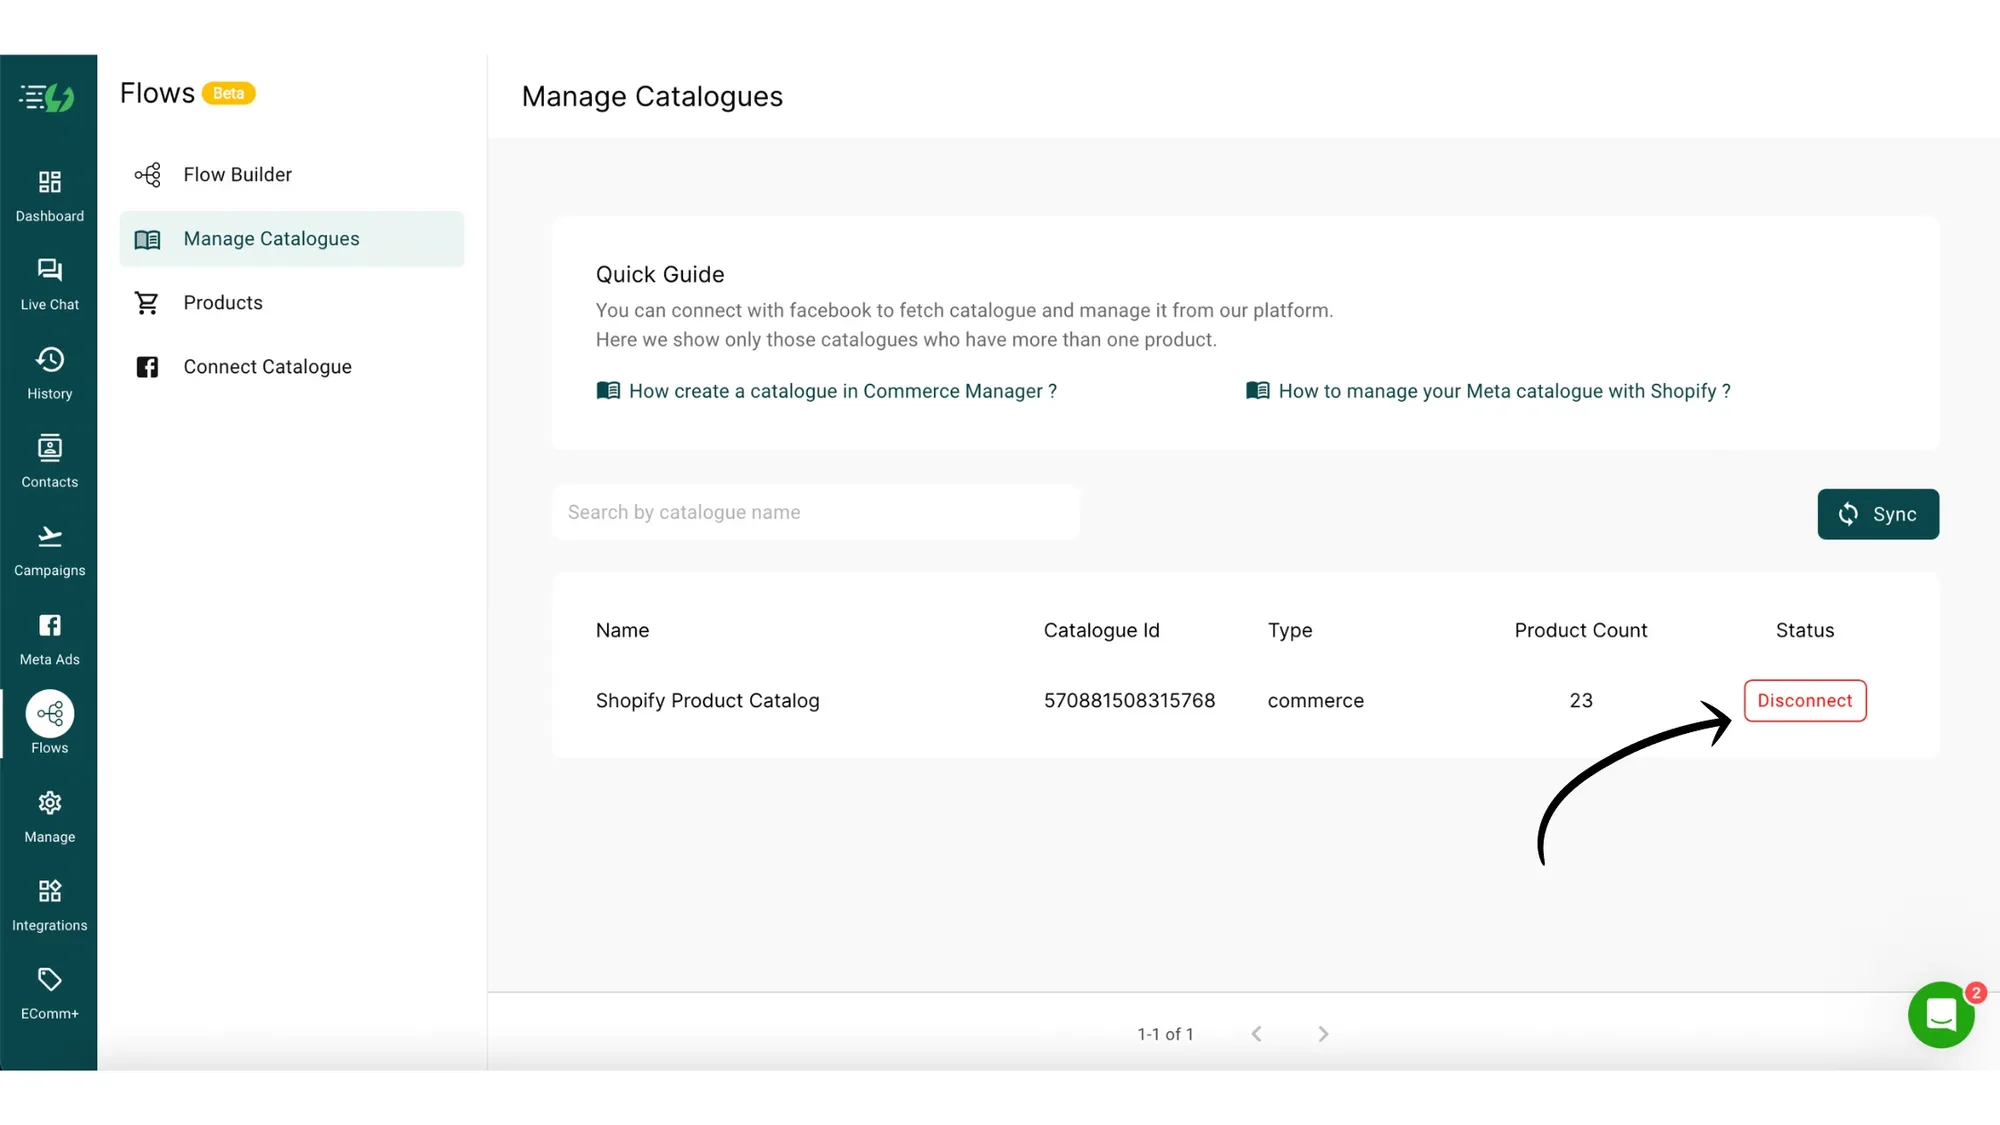
5. Go to Product & edit the listed products (Optional)
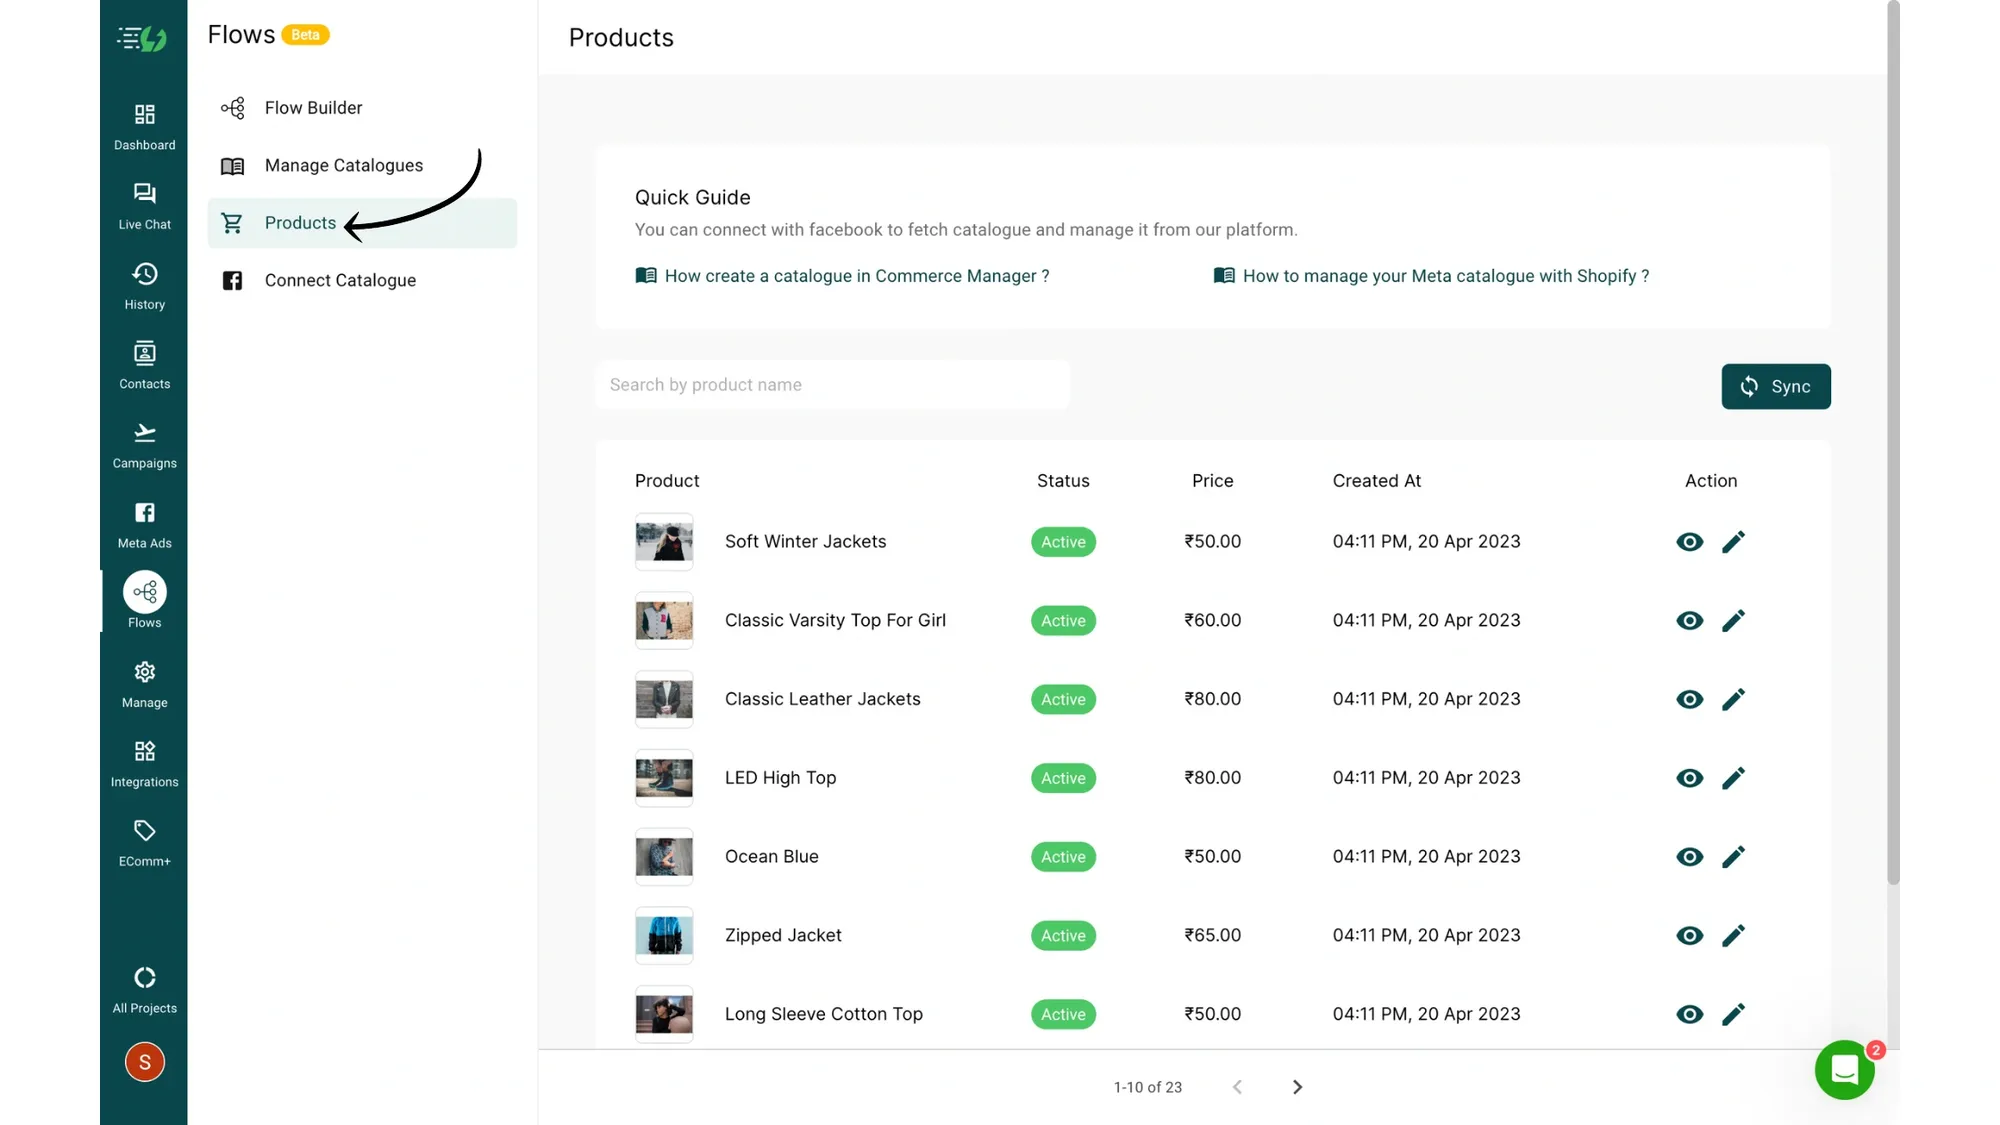
Next, go to the Products section which includes all the products listed in your Shopify account.
If you want, you can edit these products by clicking the pencil icon.
Clicking the pencil icon will take you to Shopify from where you'll be able to edit these products.
6. Create a New Flow
Now, go to Flow Builder and click Create Flow to create the flow for your WhatsApp Catalogue.
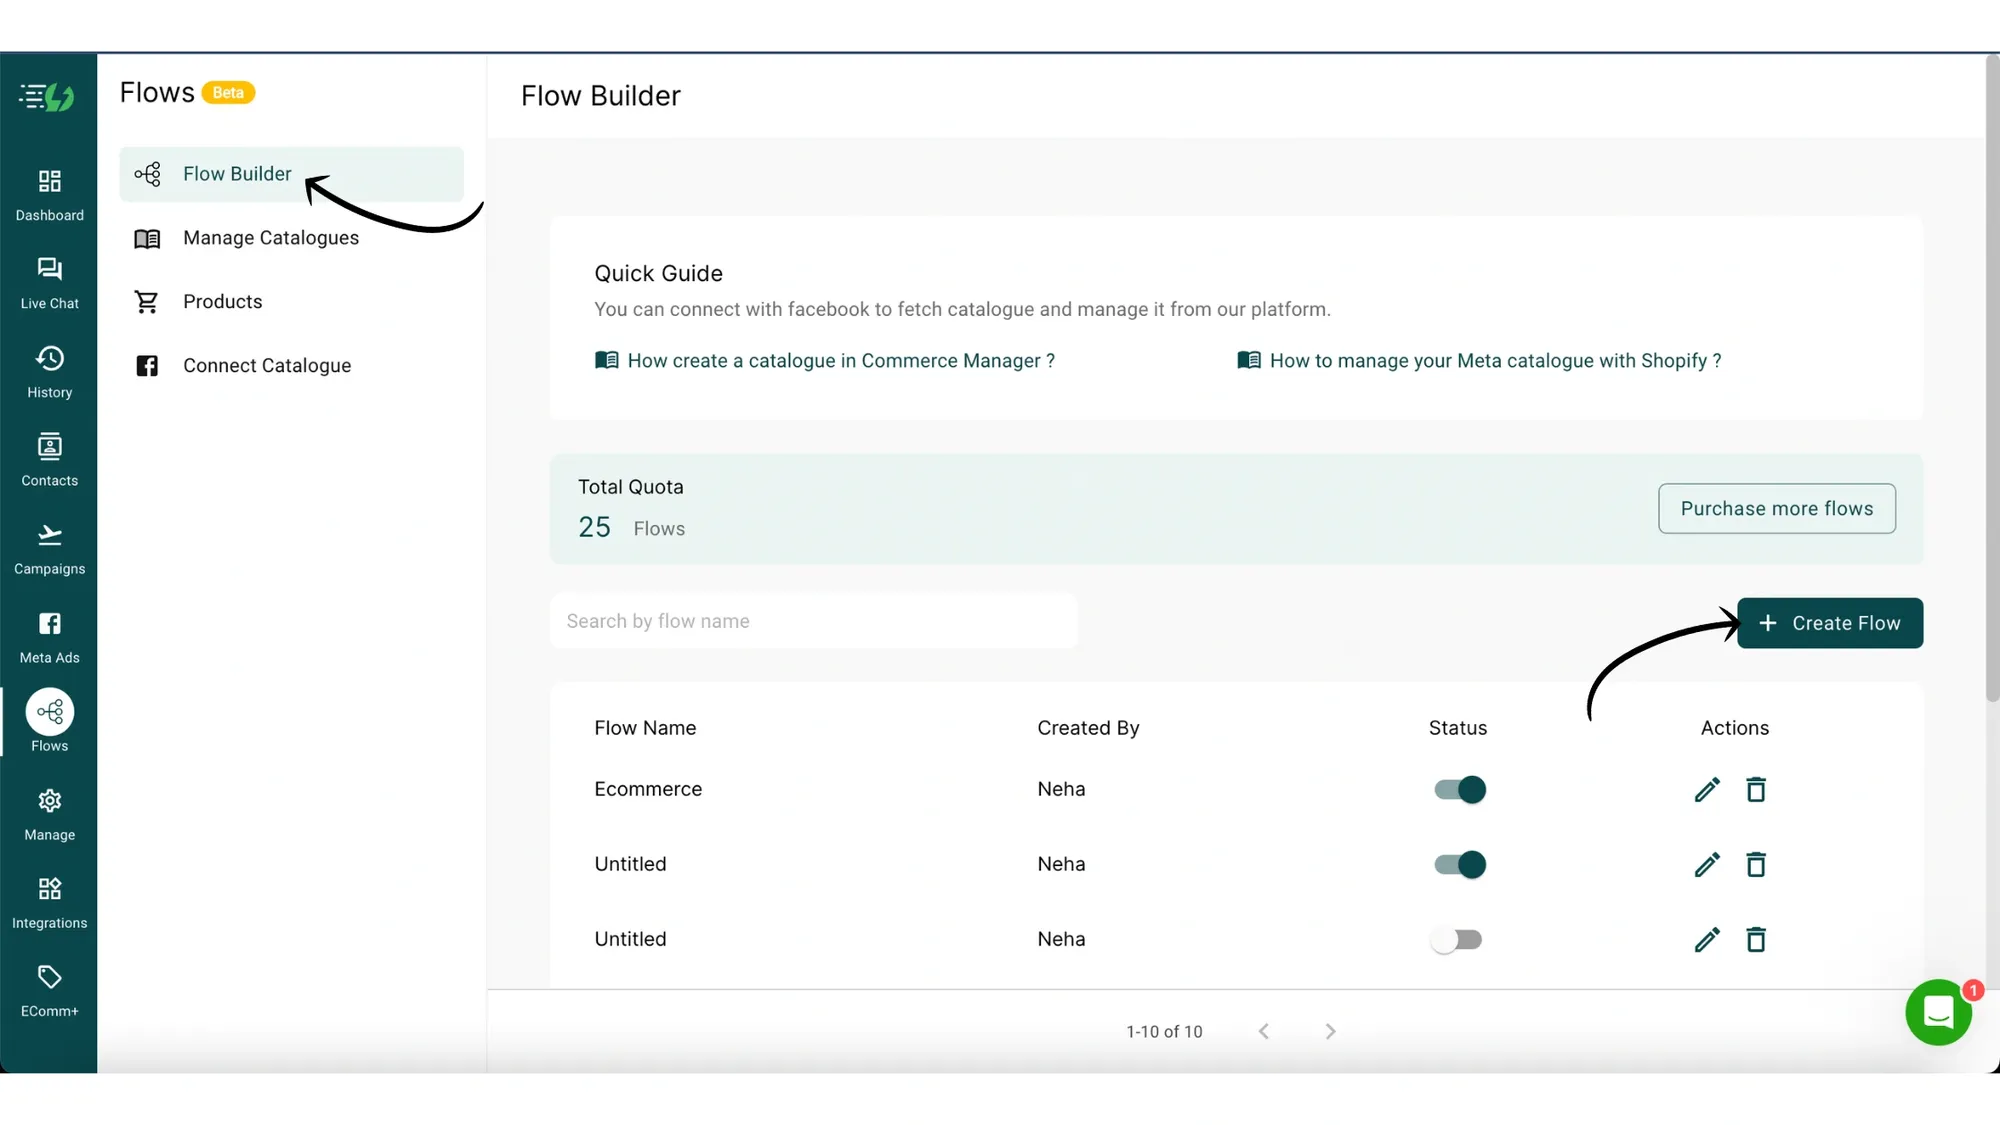
7. Add Keywords which will trigger the Catalogue
Clicking the button will open the Flow Builder. Here, you can build the complete flow for your WhatsApp Catalogue.
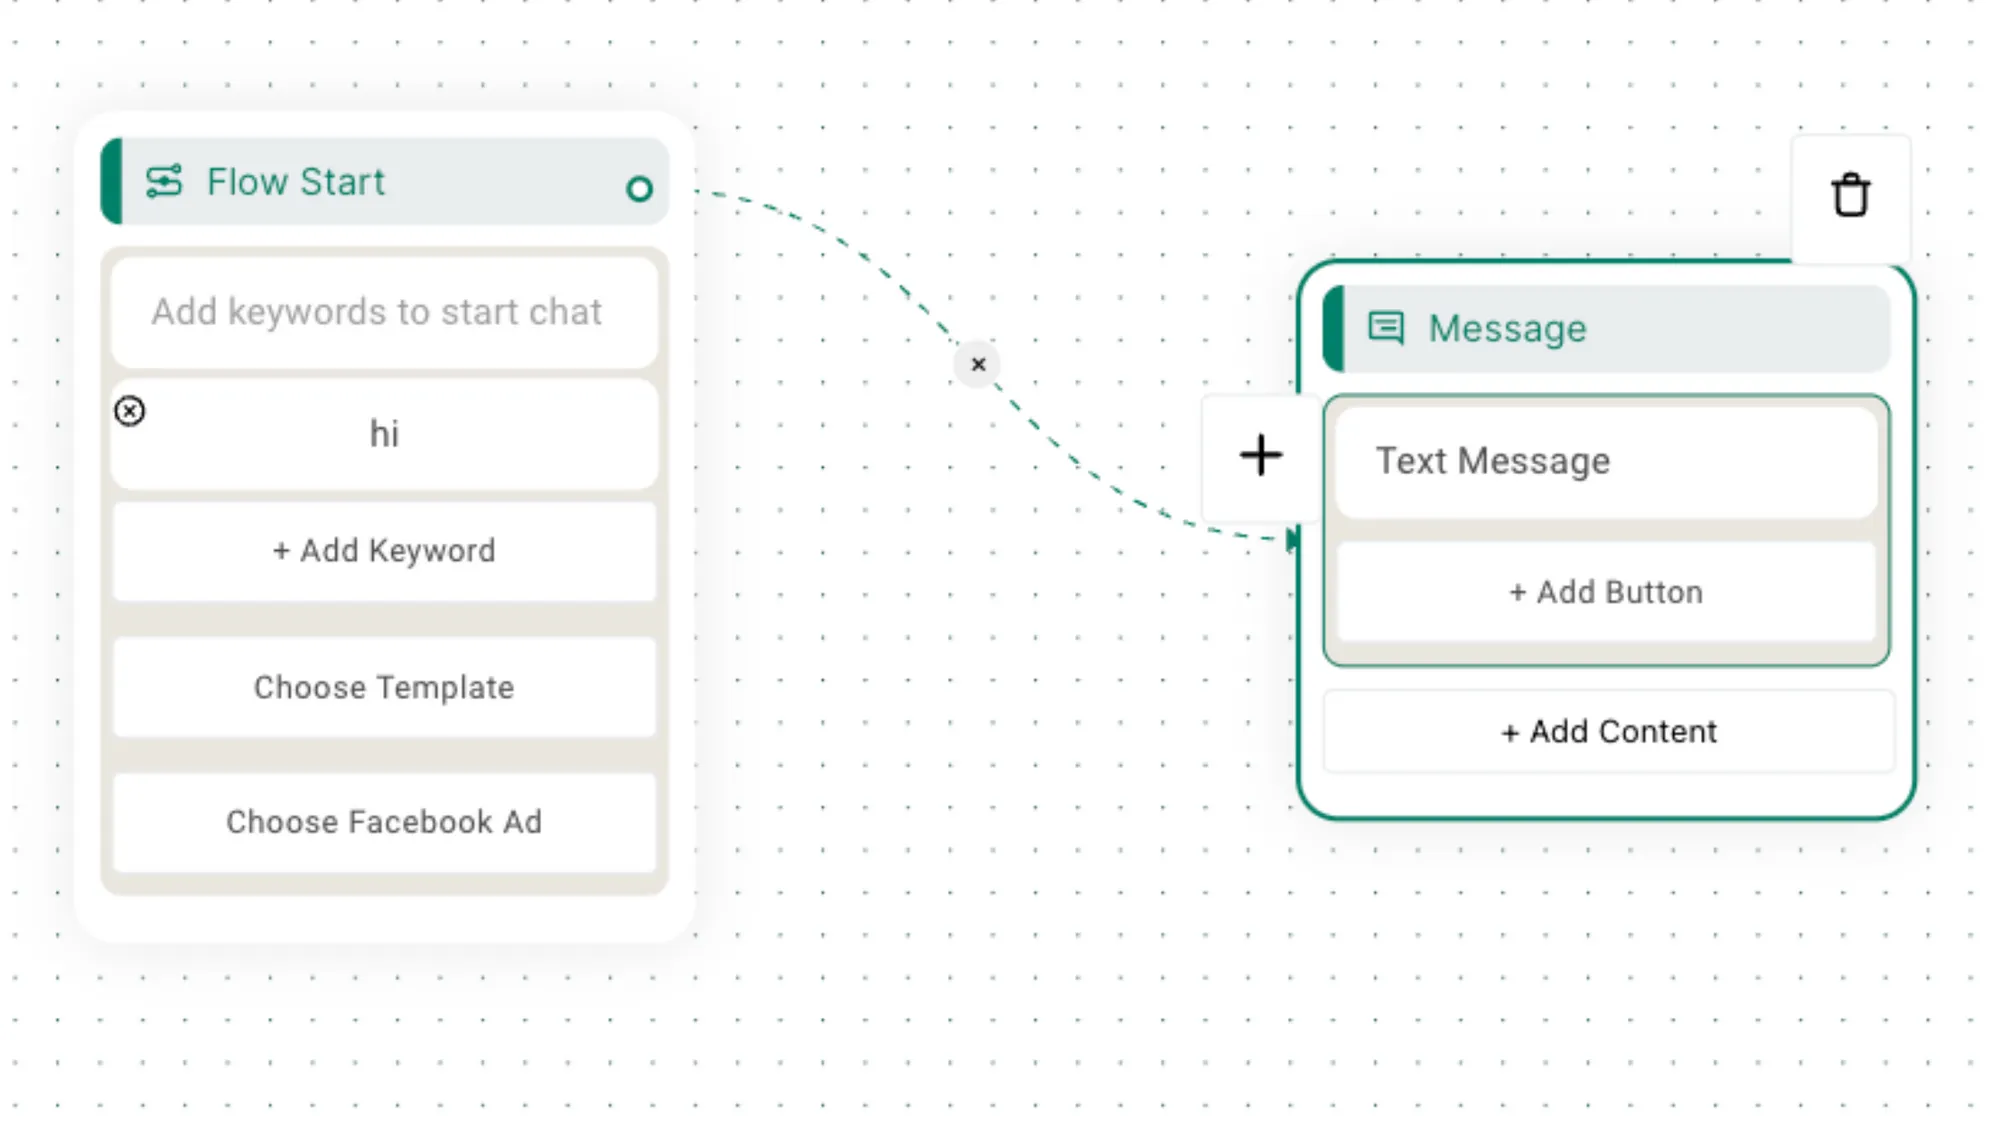
To start creating your flow, you first need to add Keywords that will trigger the Catalogue flow.
Enter common keywords like Shop, products, e-commerce depending on what your users enter most to ensure the catalogue gets triggered.
In the below image, we've added 'hi' as the keyword that will trigger the catalogue flow. So, whenever someone sends you a 'hi' on your WhatsApp Business API number, the flow will automatically get trigerred.
8. Create the Flow
You can use a series of options including Text, Quick Replies, Images, List, Section List, Single Product & Multi-product.
Here's a small description of each of these so you can use them effectively:
- Text Replies: These are simple text replies that you can send users depending on your Catalogue flow.
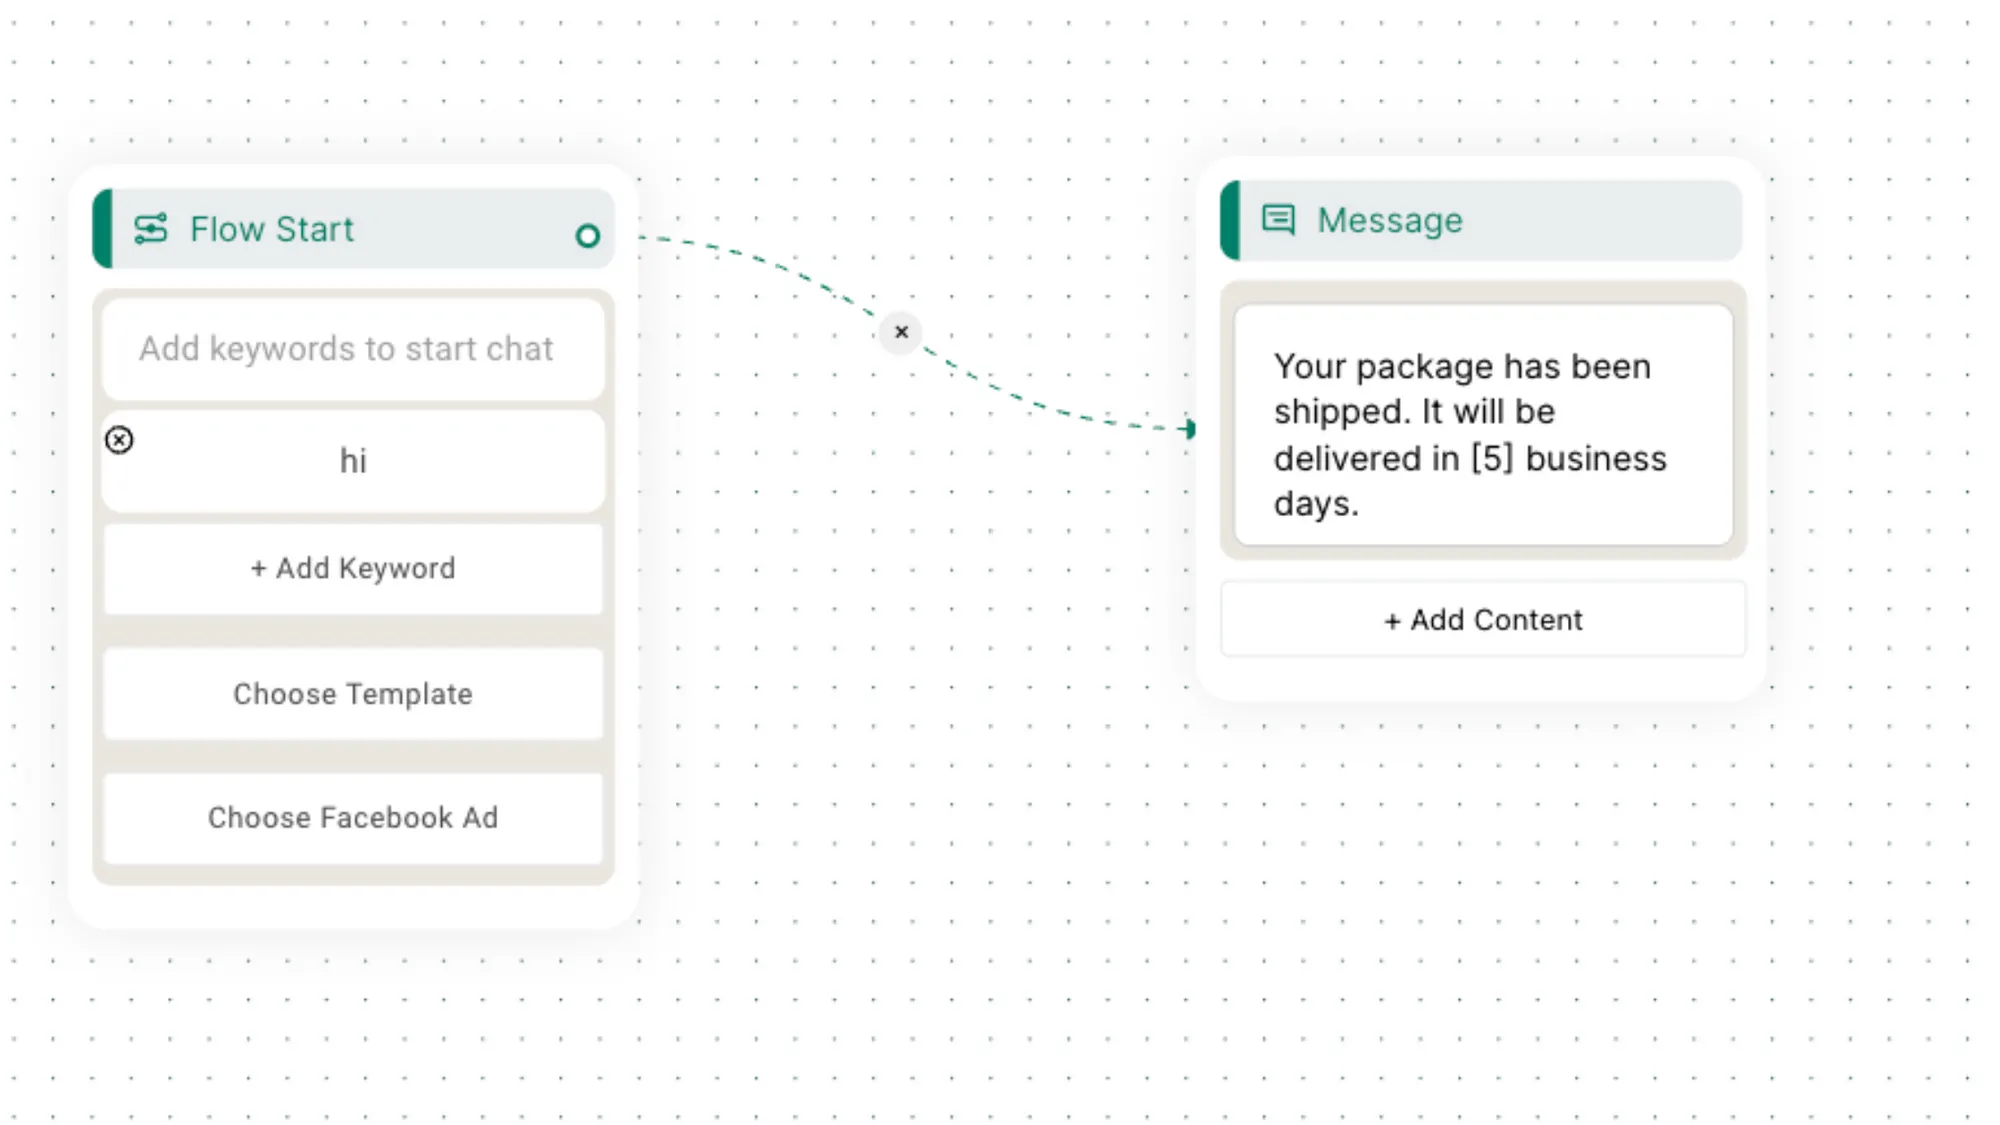
- Quick Replies:
You can enter three quick reply buttons that users can click to send you the exact text mentioned in the button.
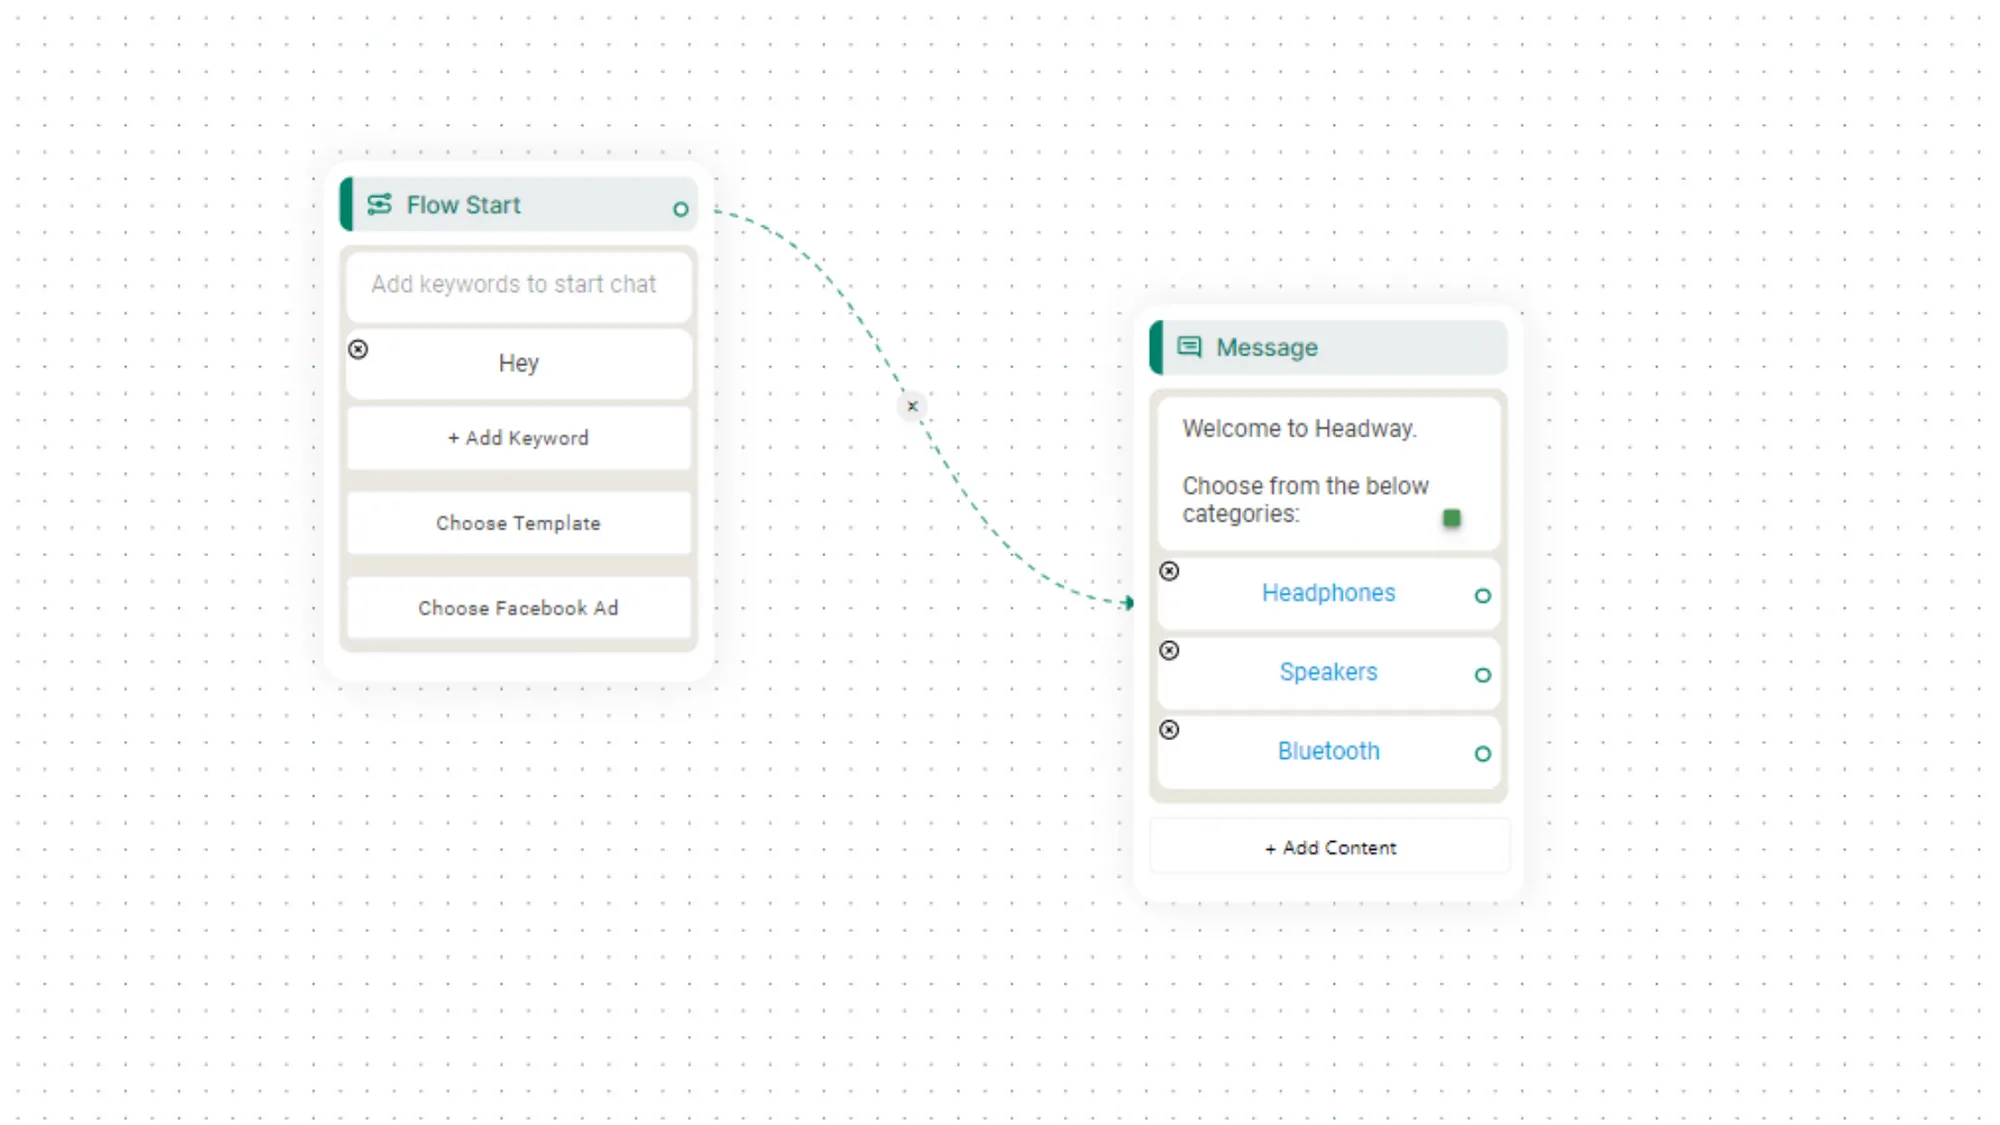
- Image:
Use this if you wish to send an image of your products.
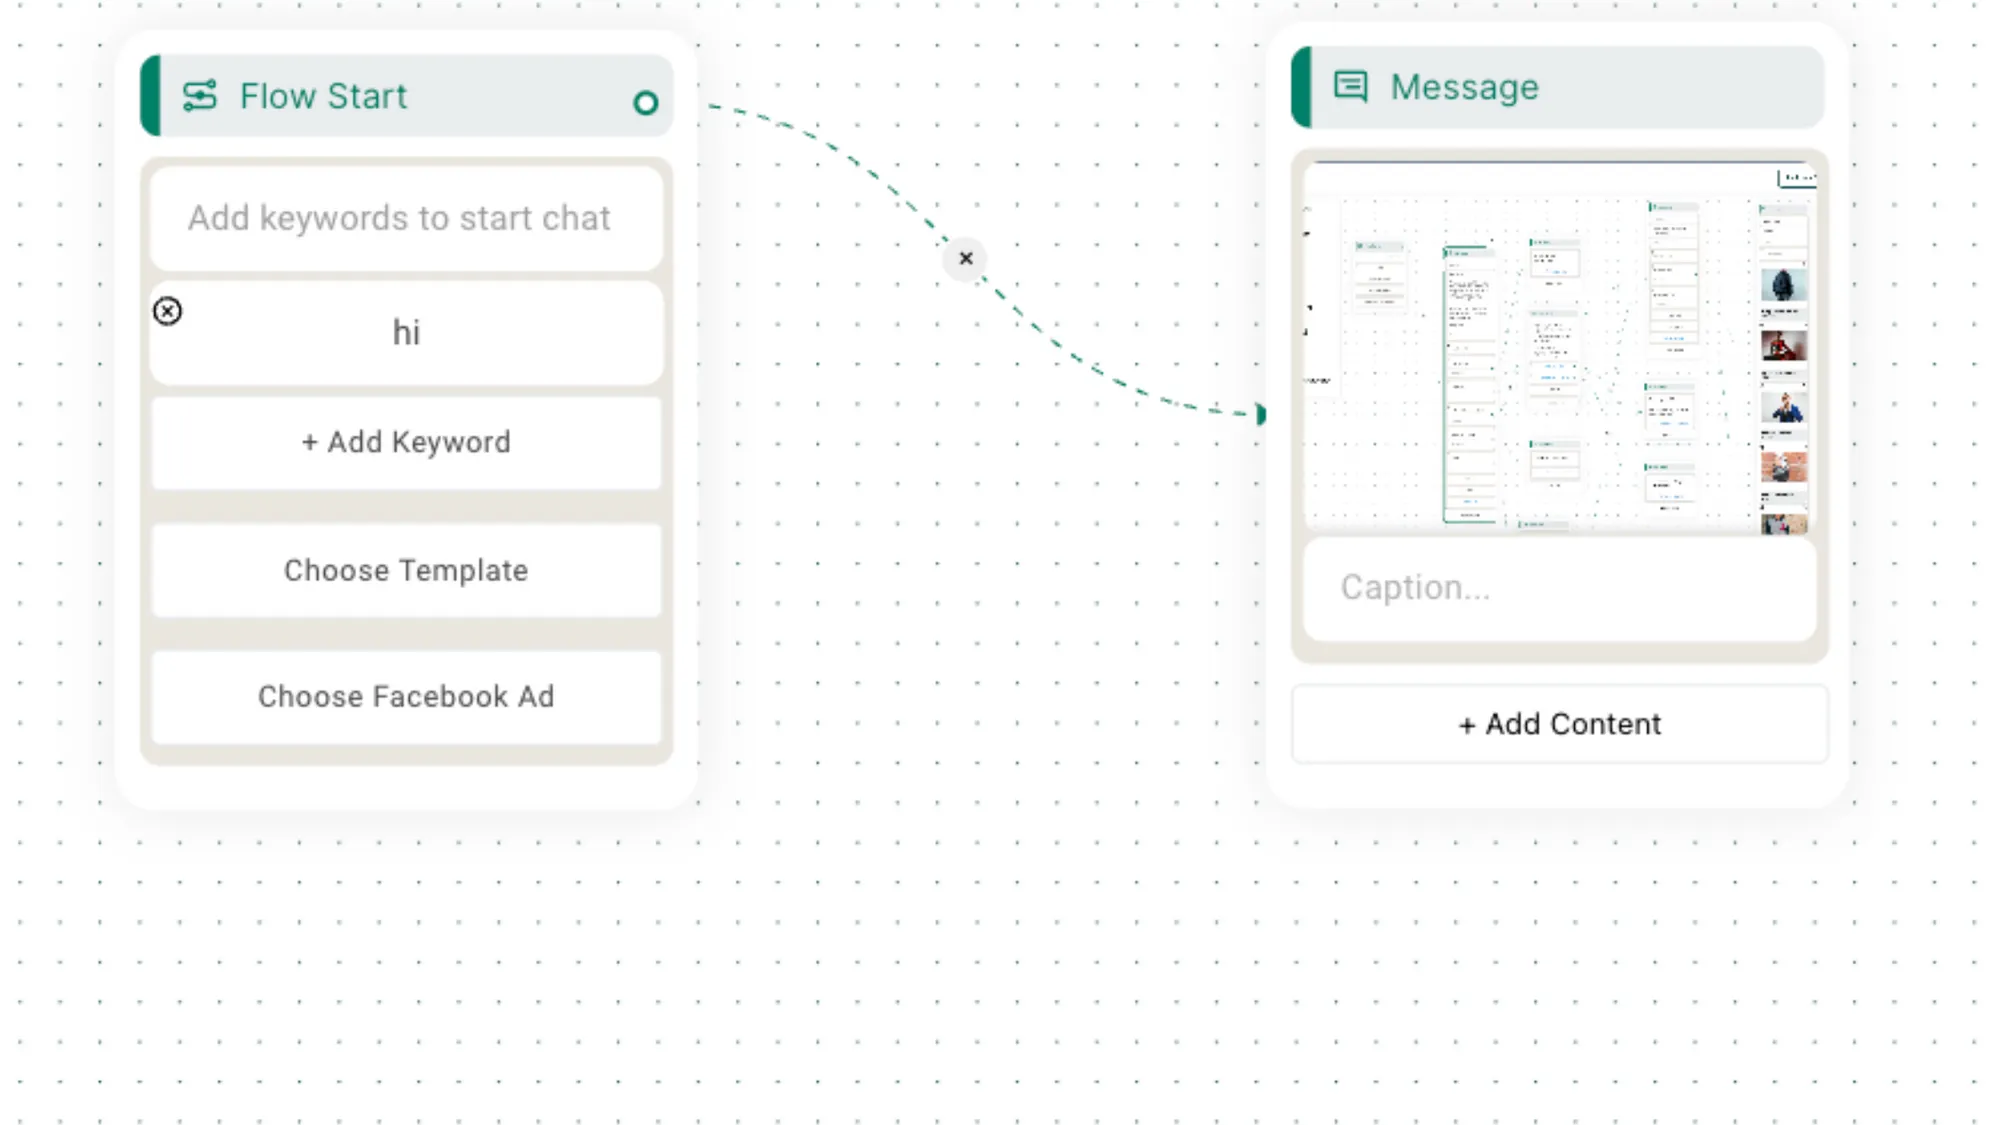
- List:
Use List to provide users the option to select from multiple products in your store.
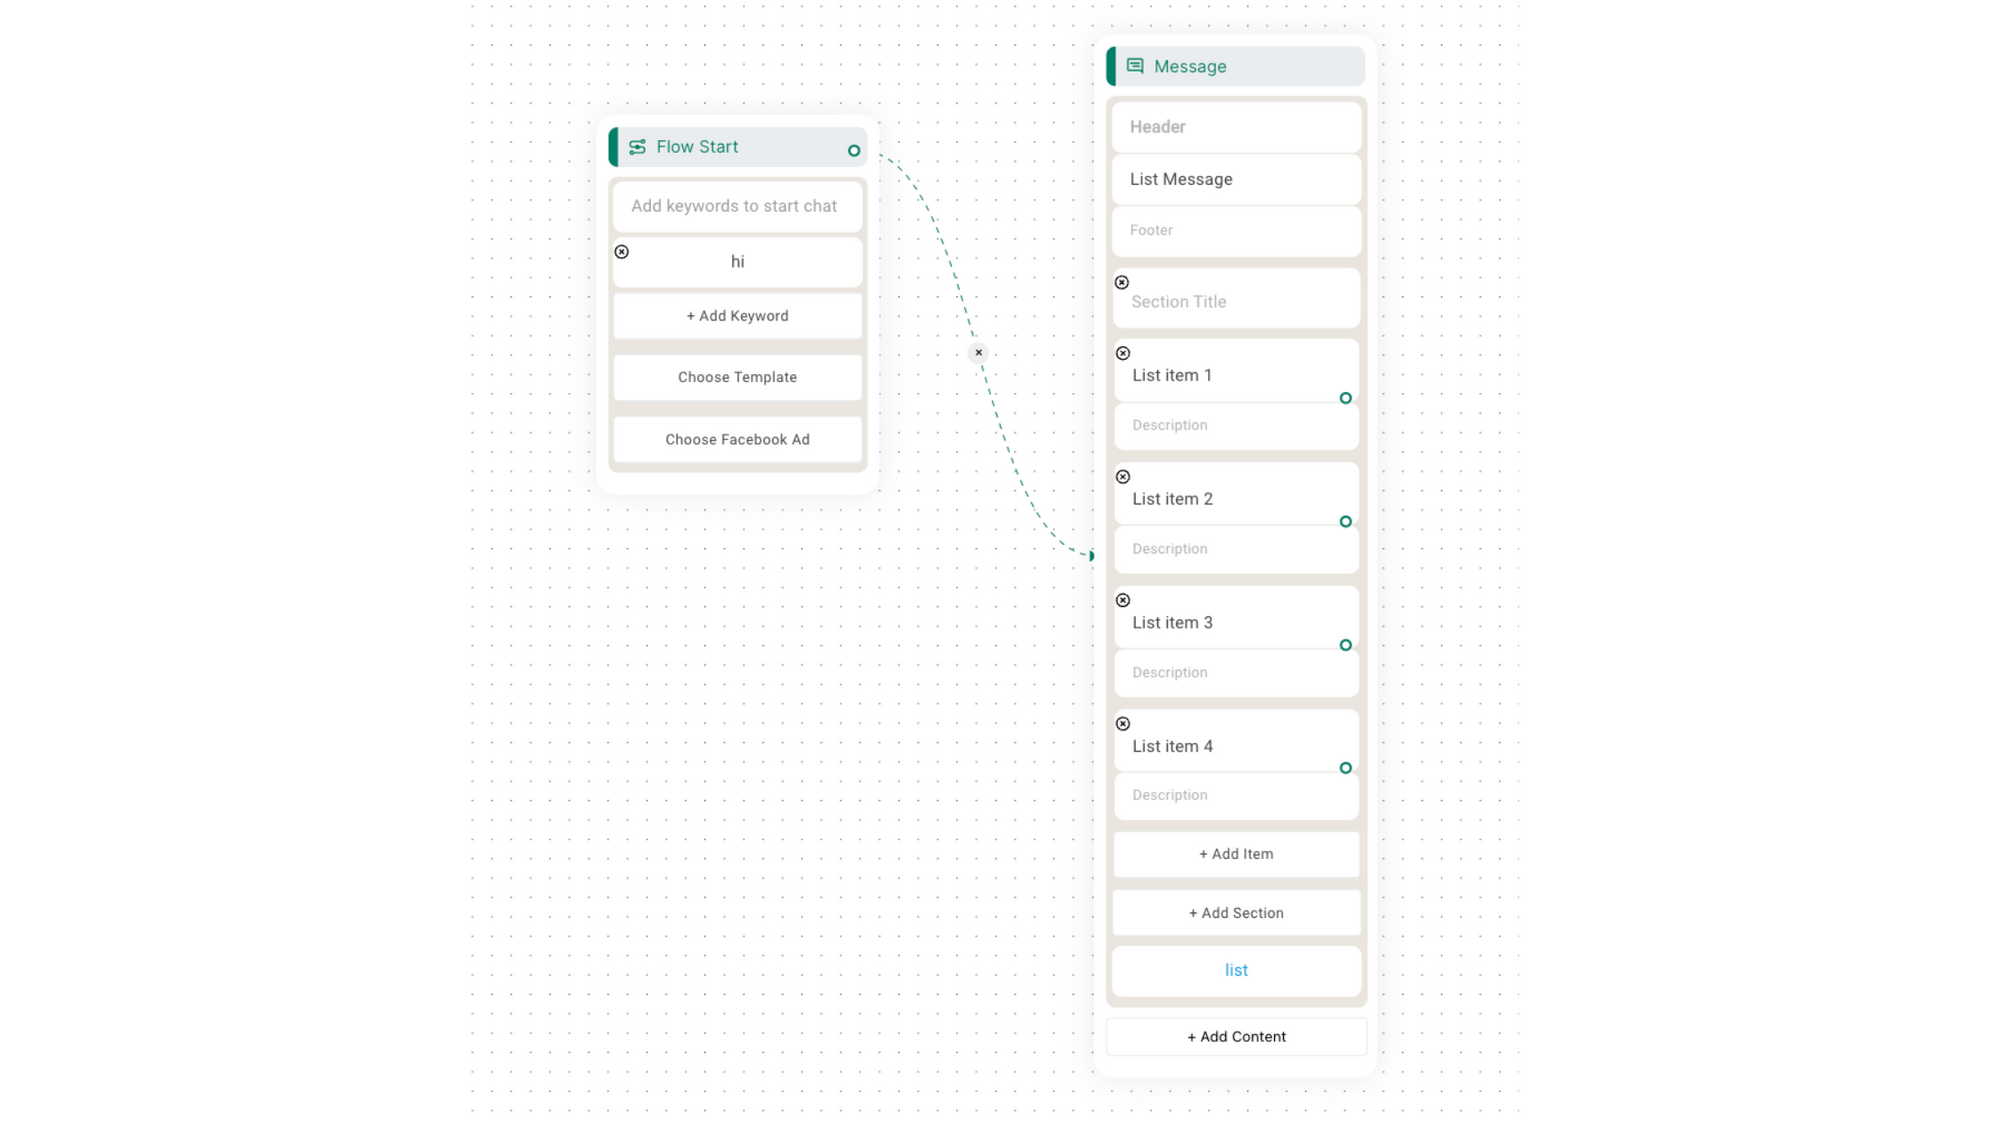
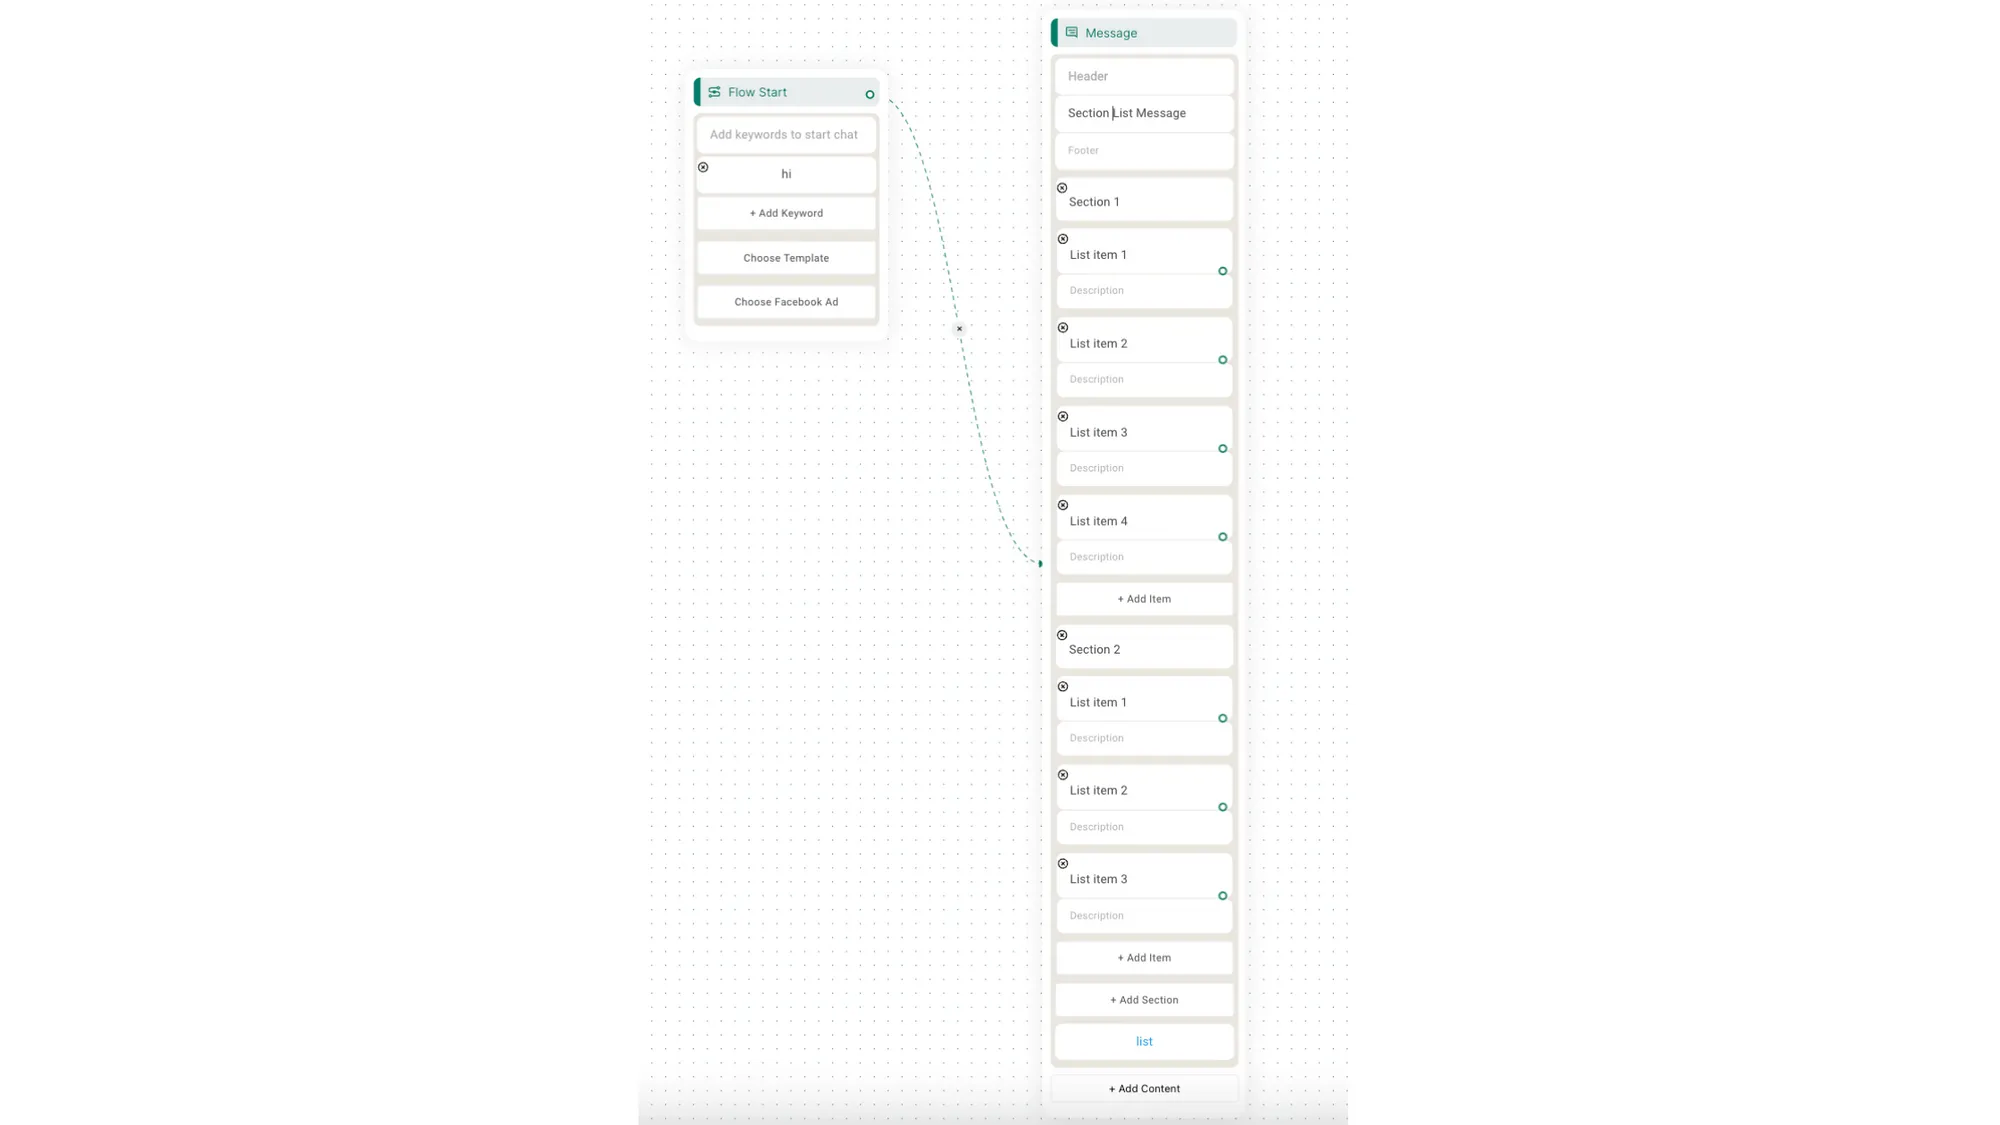
- Section List:
If you offer products under multiple categories e.g. Jeans, Tees, Sweaters etc, use Section list. Section list works just like Lists but allows you to add multiple categories & products within it.
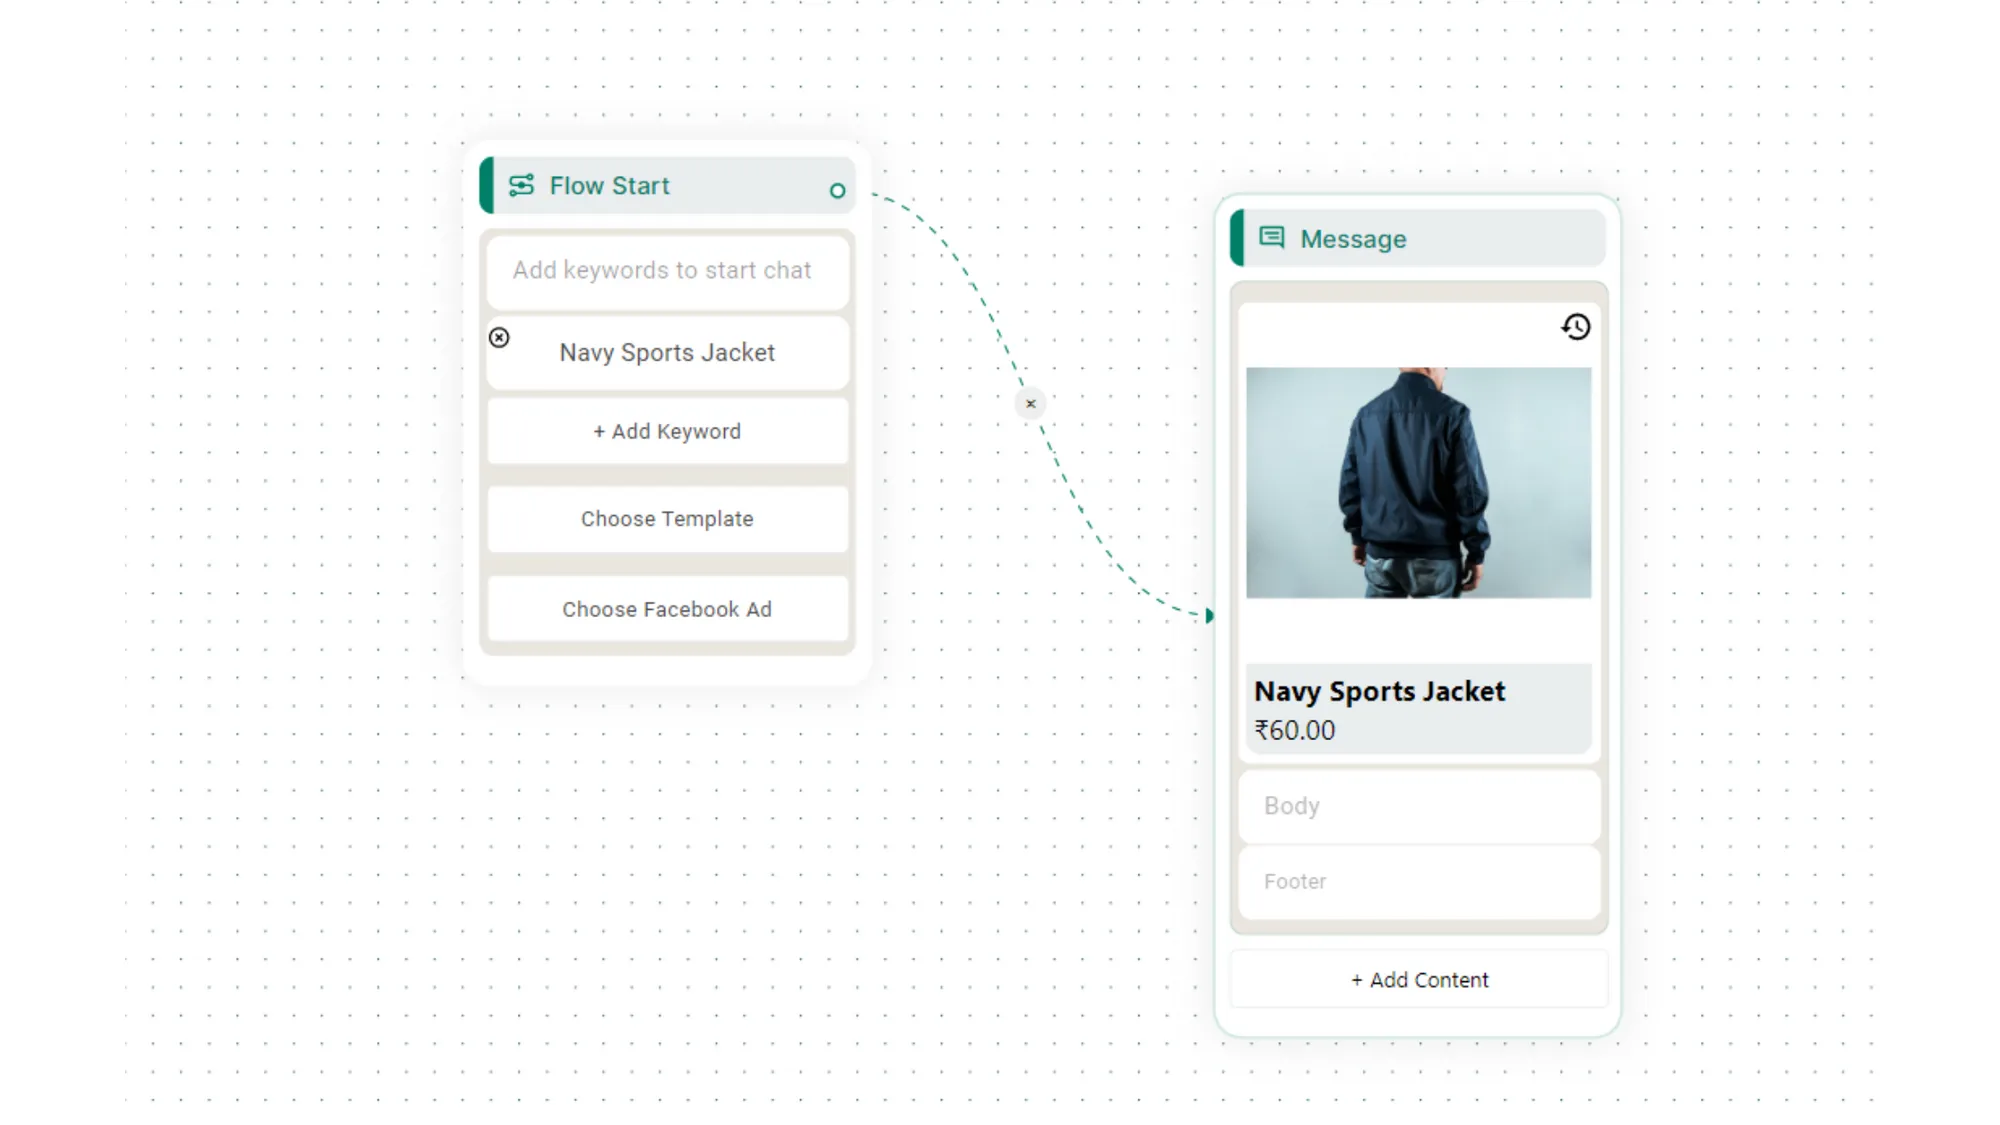
- Single Product:
Use this if you want to send only a single product to the user along with the product image & checkout link.
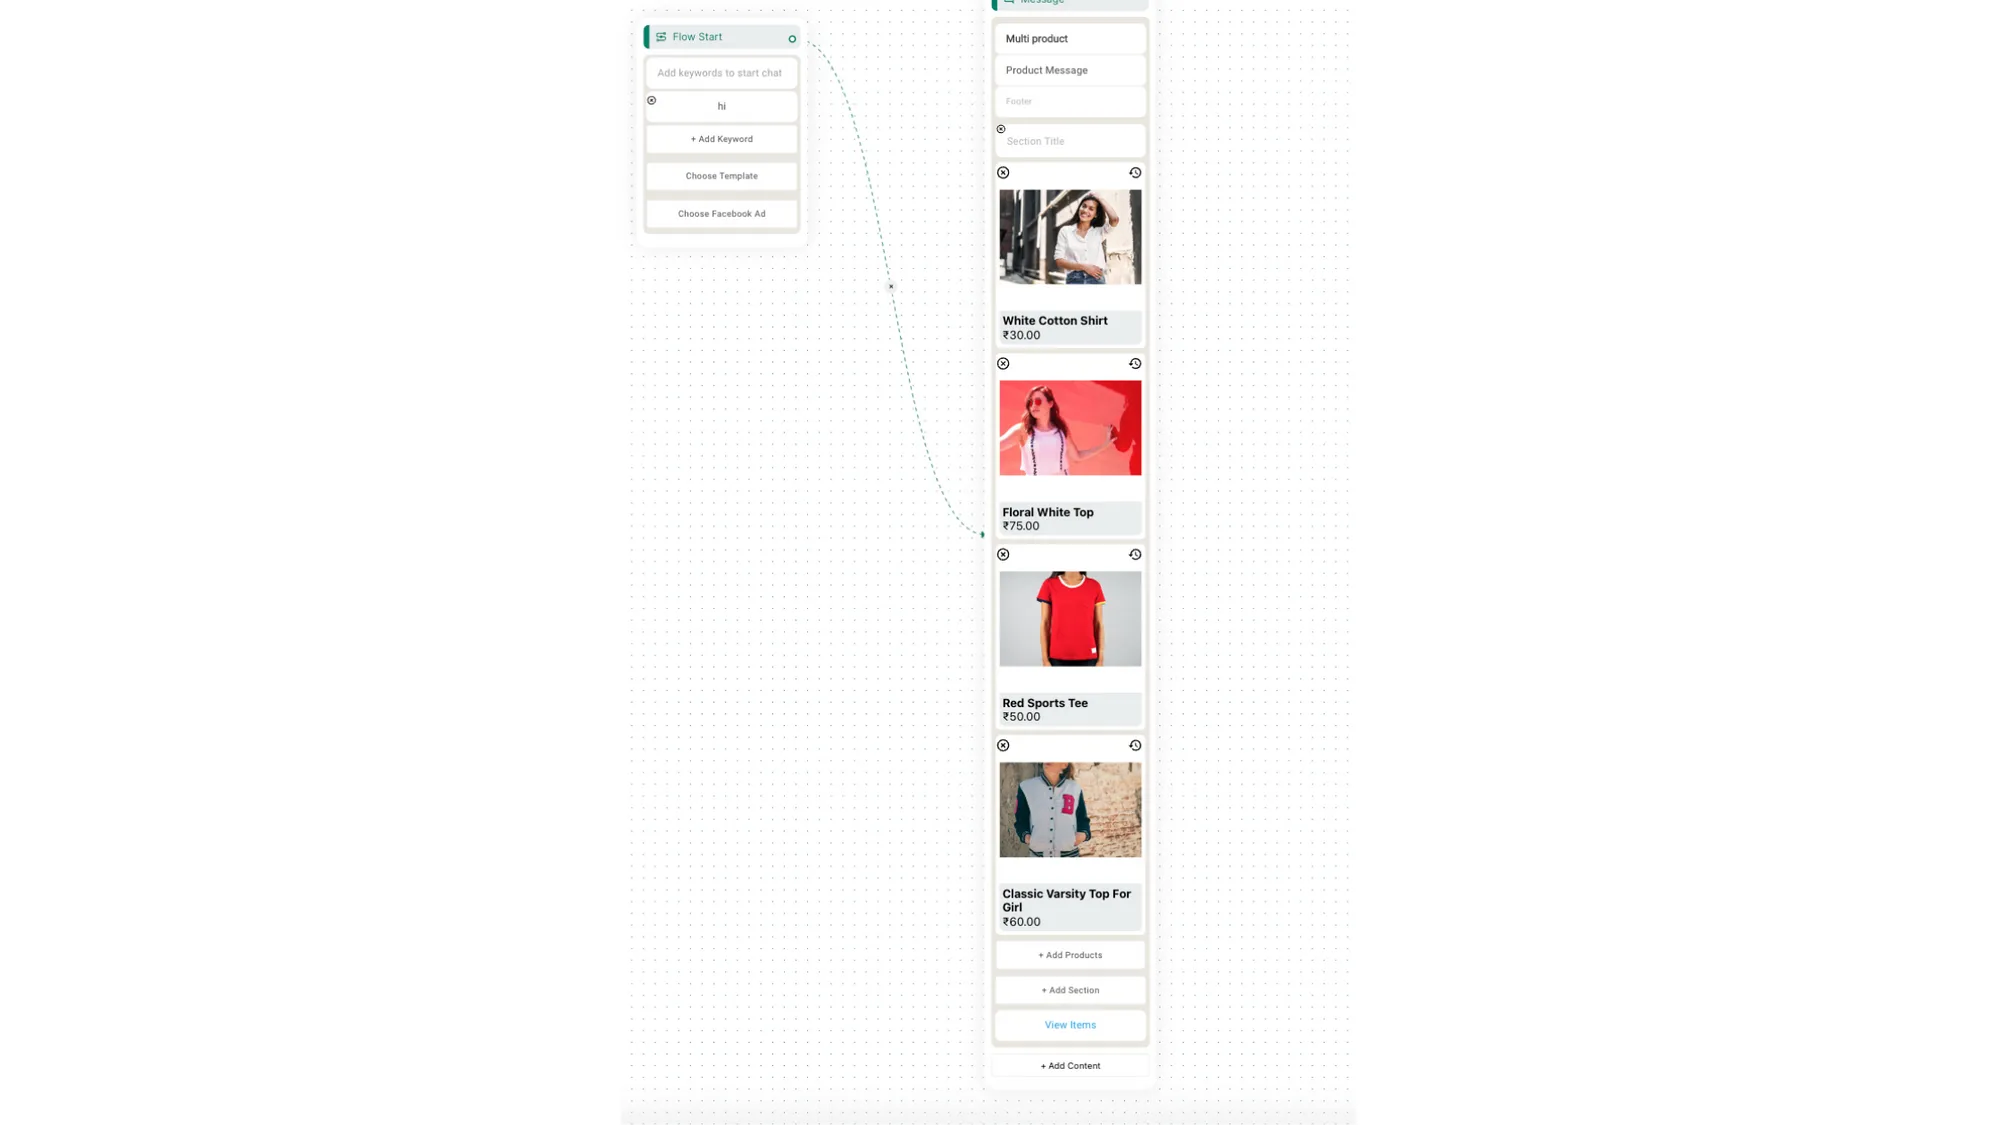
- Multi-Product:
Use this if you wish to send images & checkout link of multiple products in a single message.
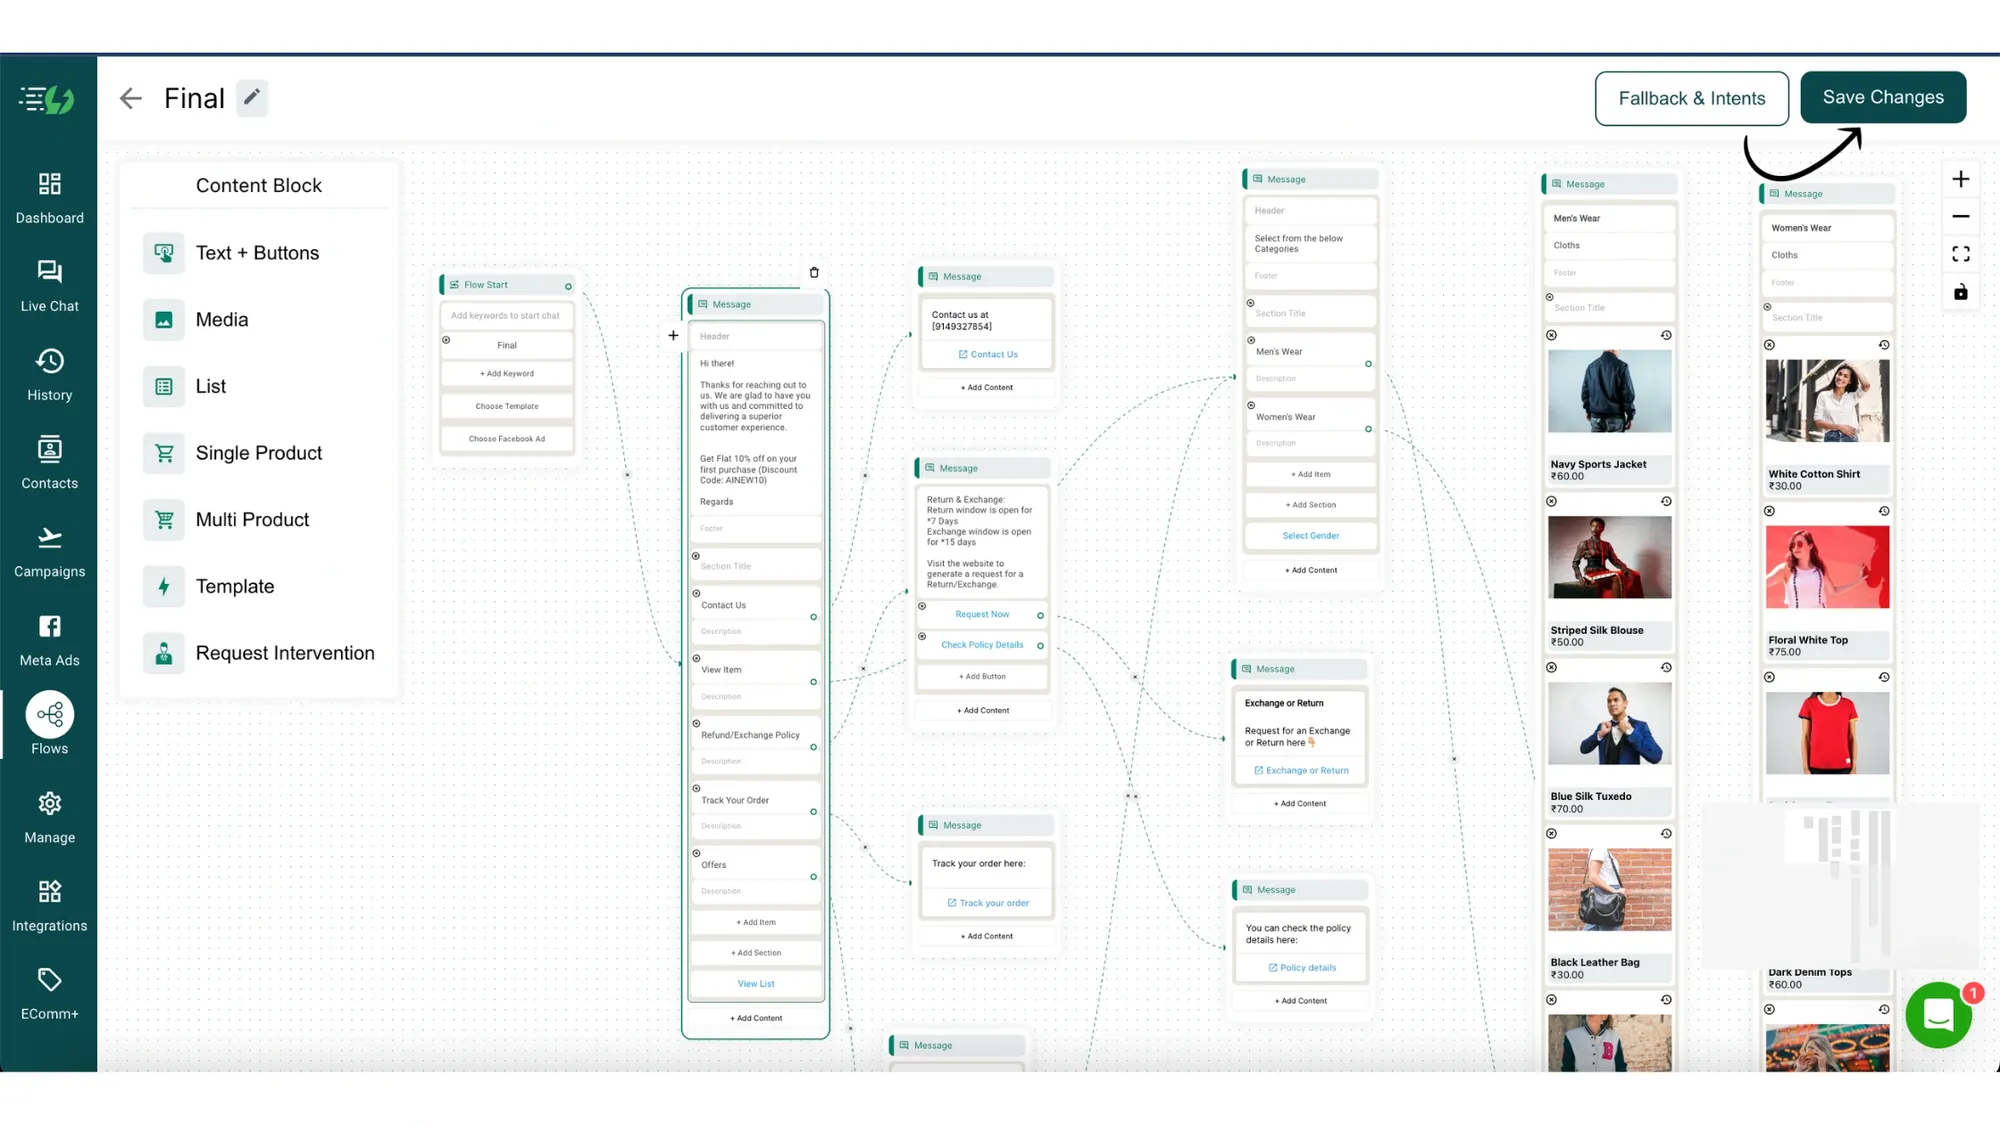
9. After completing the flow, click 'Save'
Once you've completed the flow as per your satisfaction, press Save.
10. Enable the Catalogue
Finally, enable the Catalogue in the flow builder.
That's it!! Your WhatsApp Catalogue is now Live 🎉🎊
Once you've enabled the catalogue, it'll start getting triggered whenever a user enters your Catalogue Keywords.
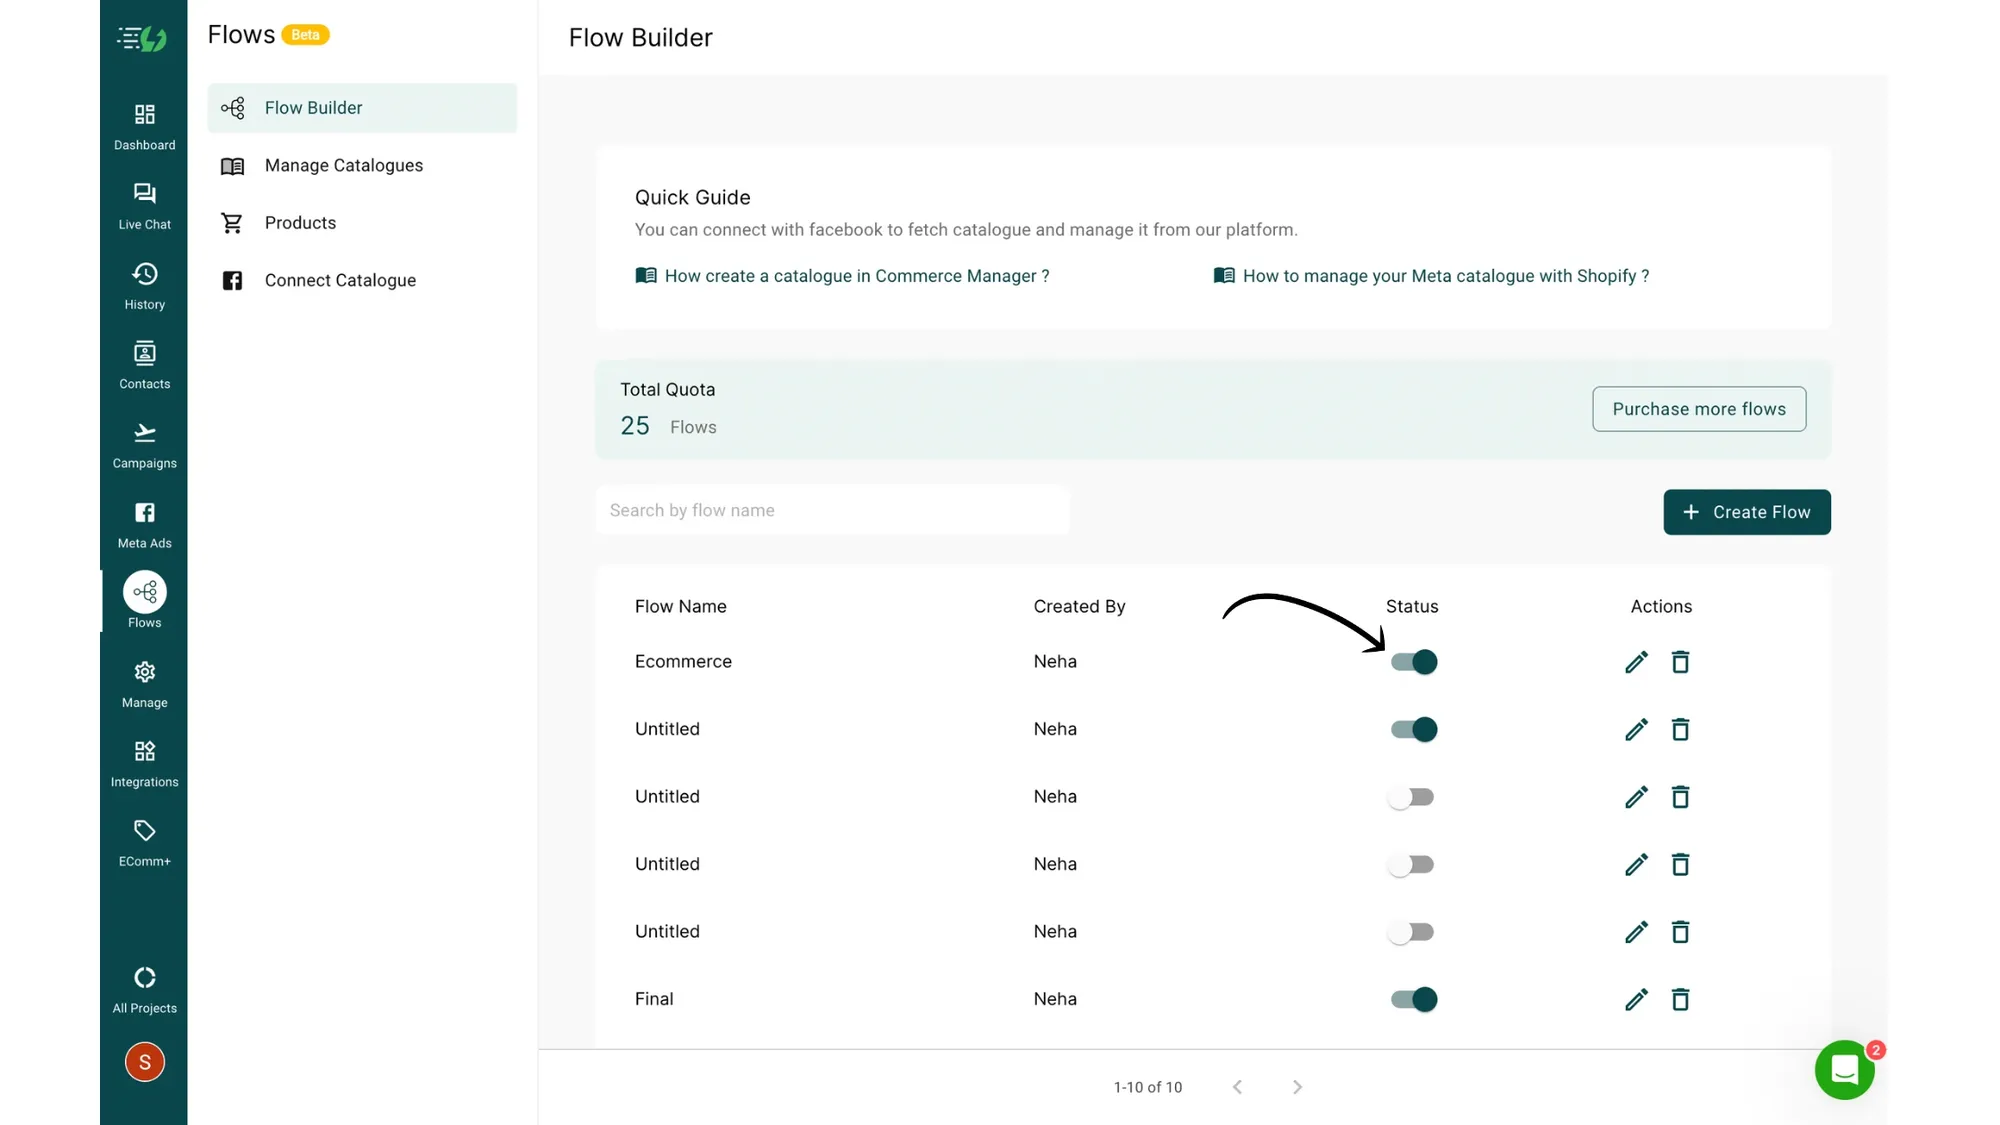
How to Show Catalogues on your WhatsApp Business Profile?
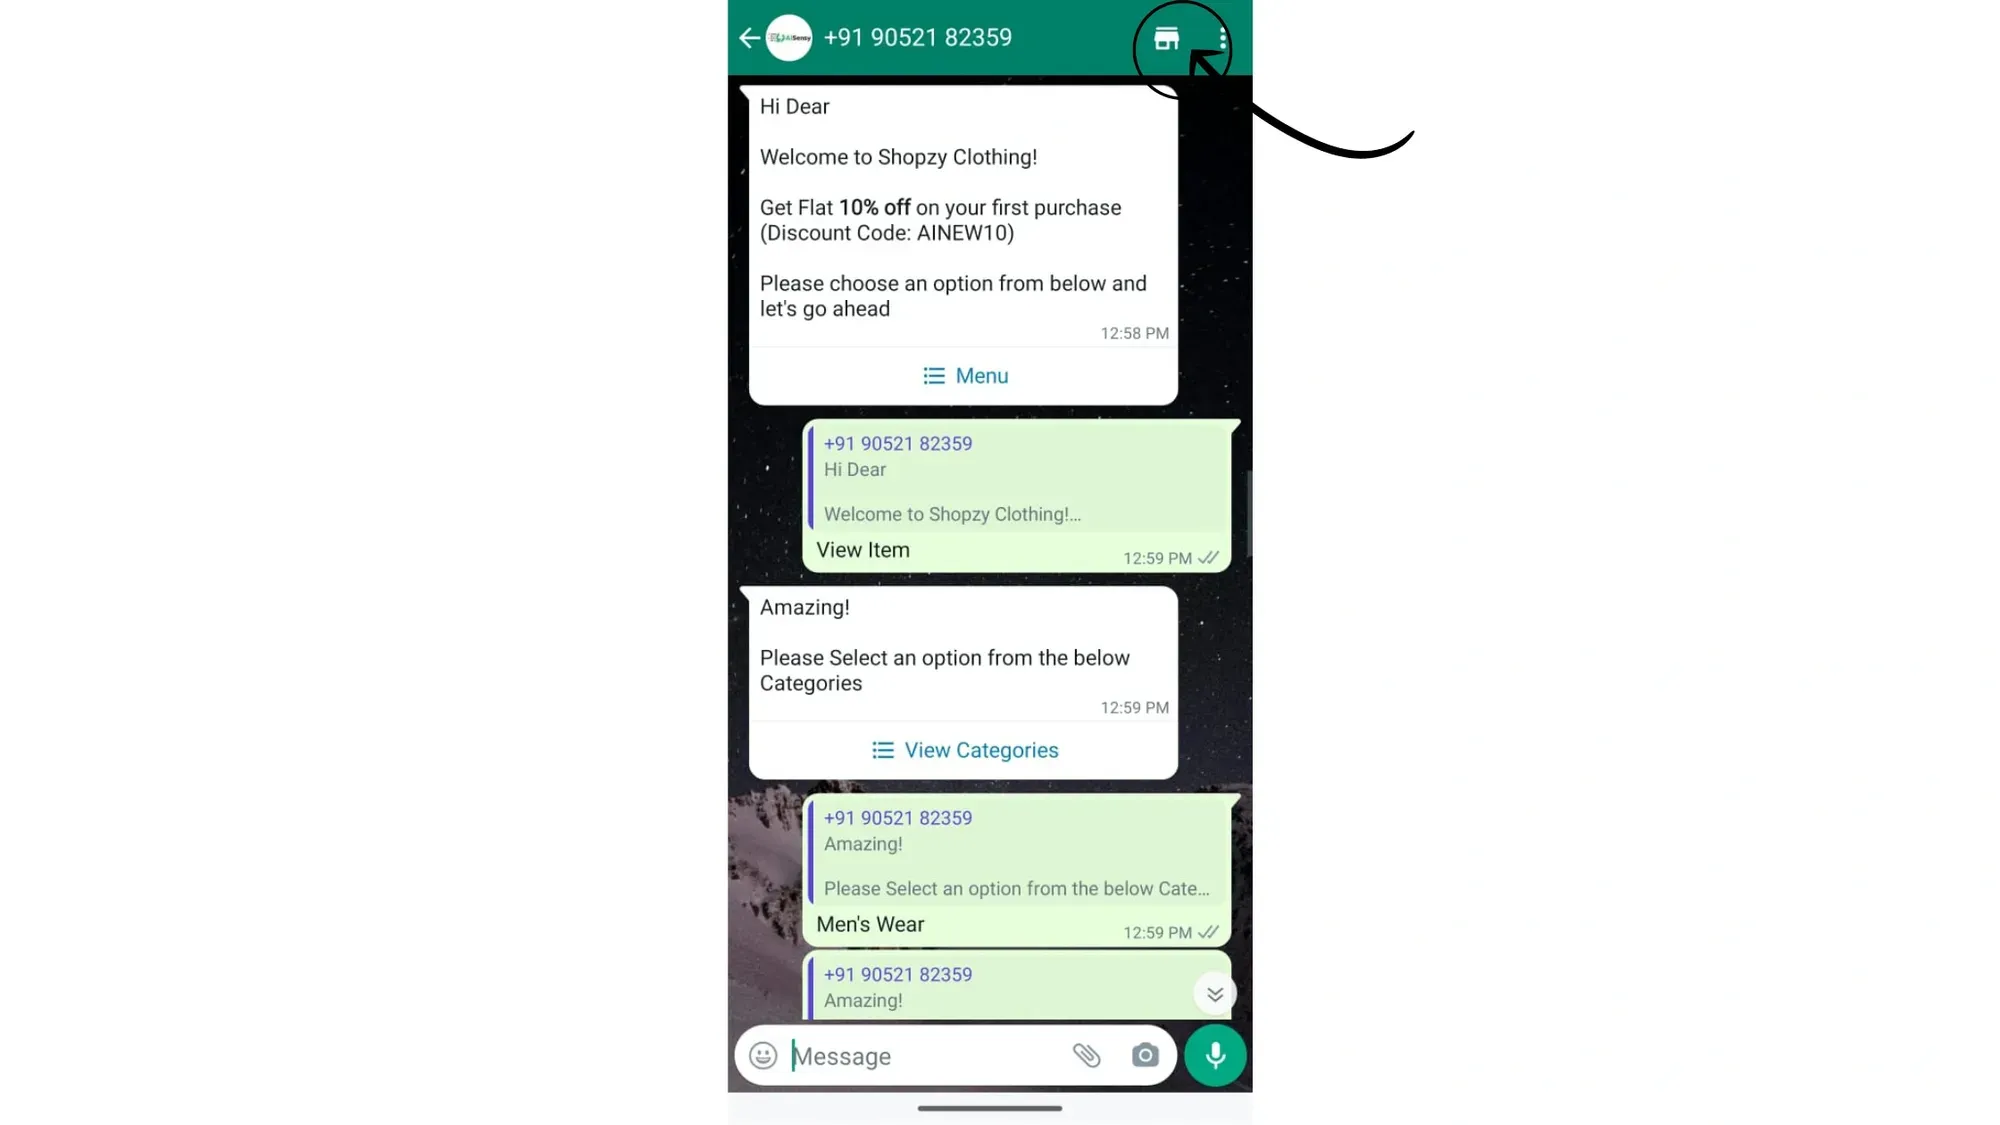
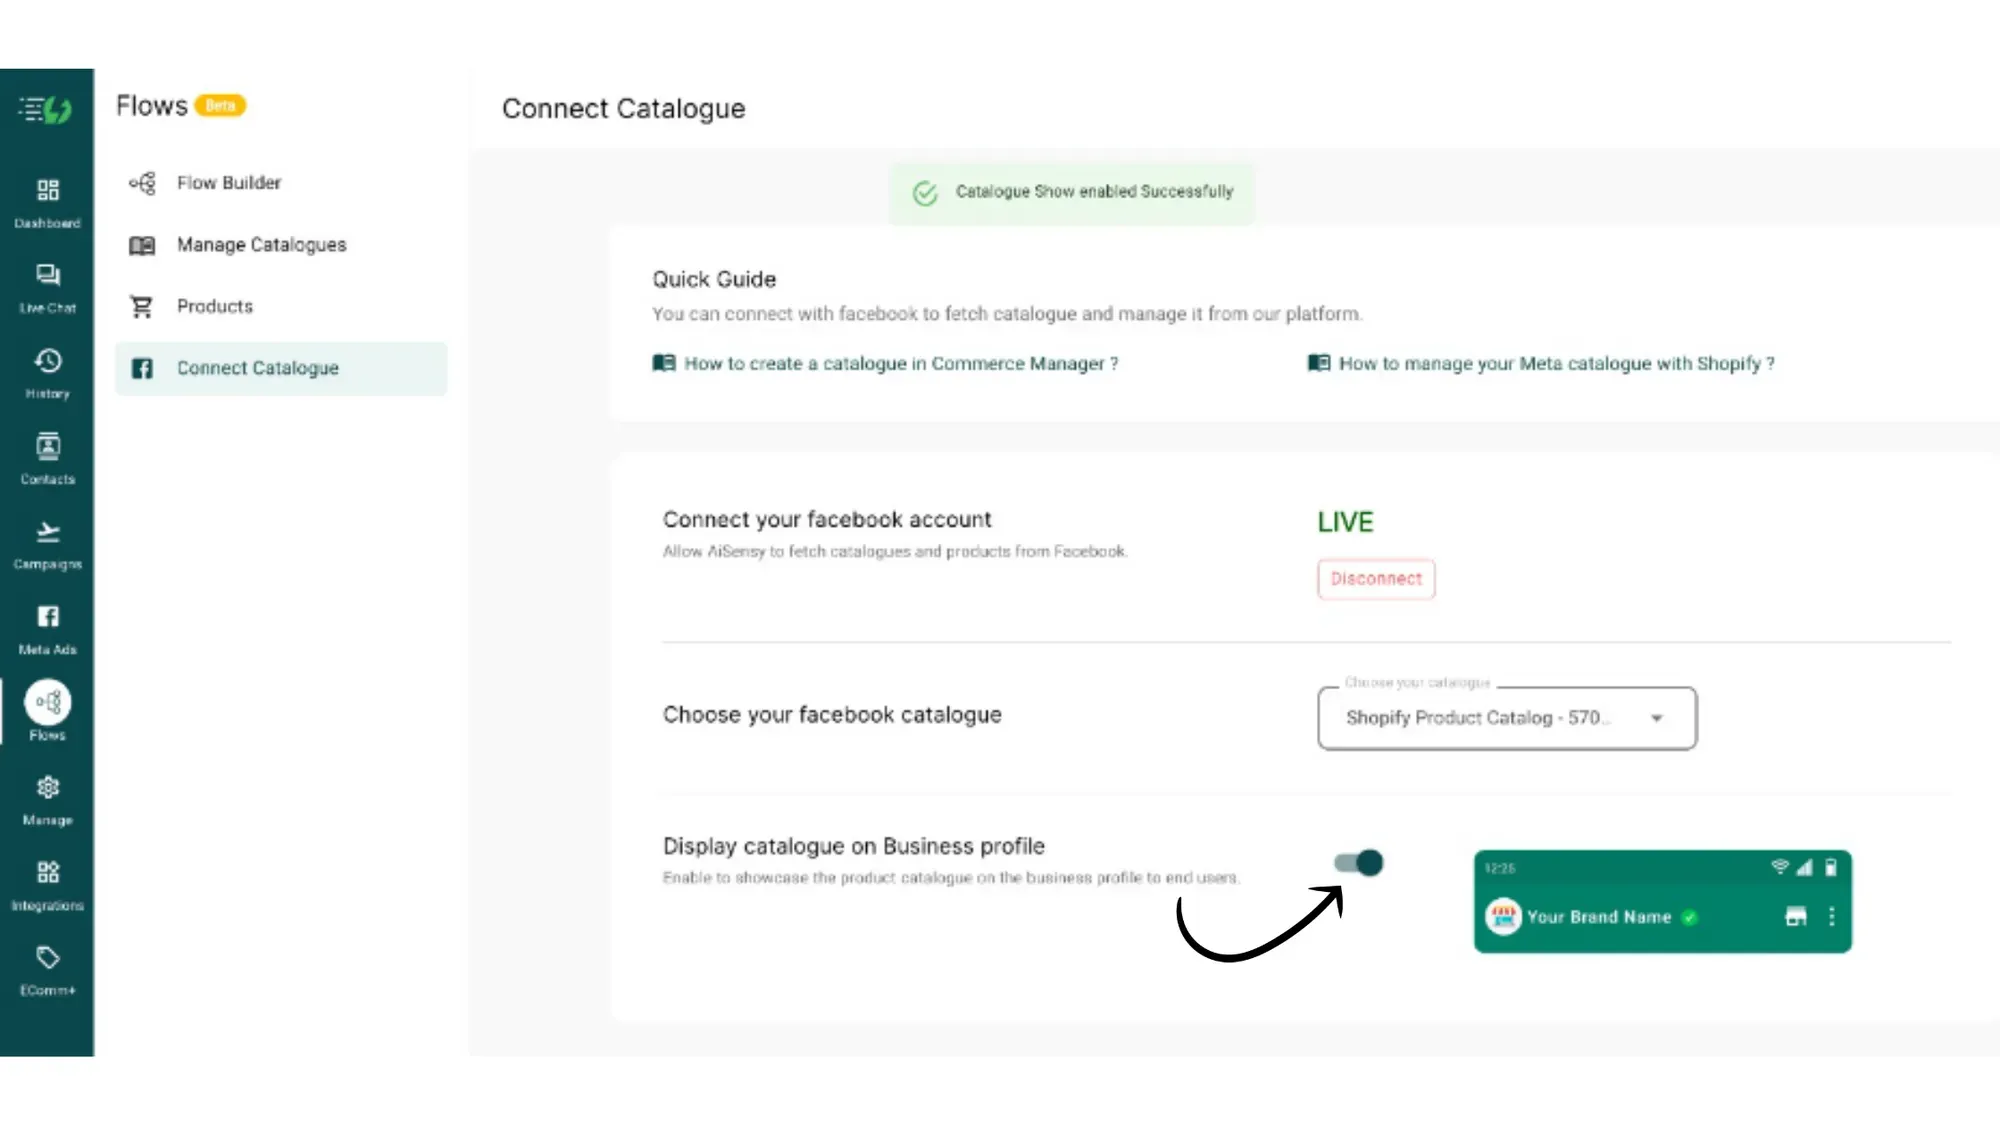
Now, you can showcase Catalogues directly on your WhatsApp Business Profile!Simply enable the "Display Catalogue on WhatsApp Profile" toggle in the Connect Catalogue Page under Flows as shown in the image below